


New article
Recently updated
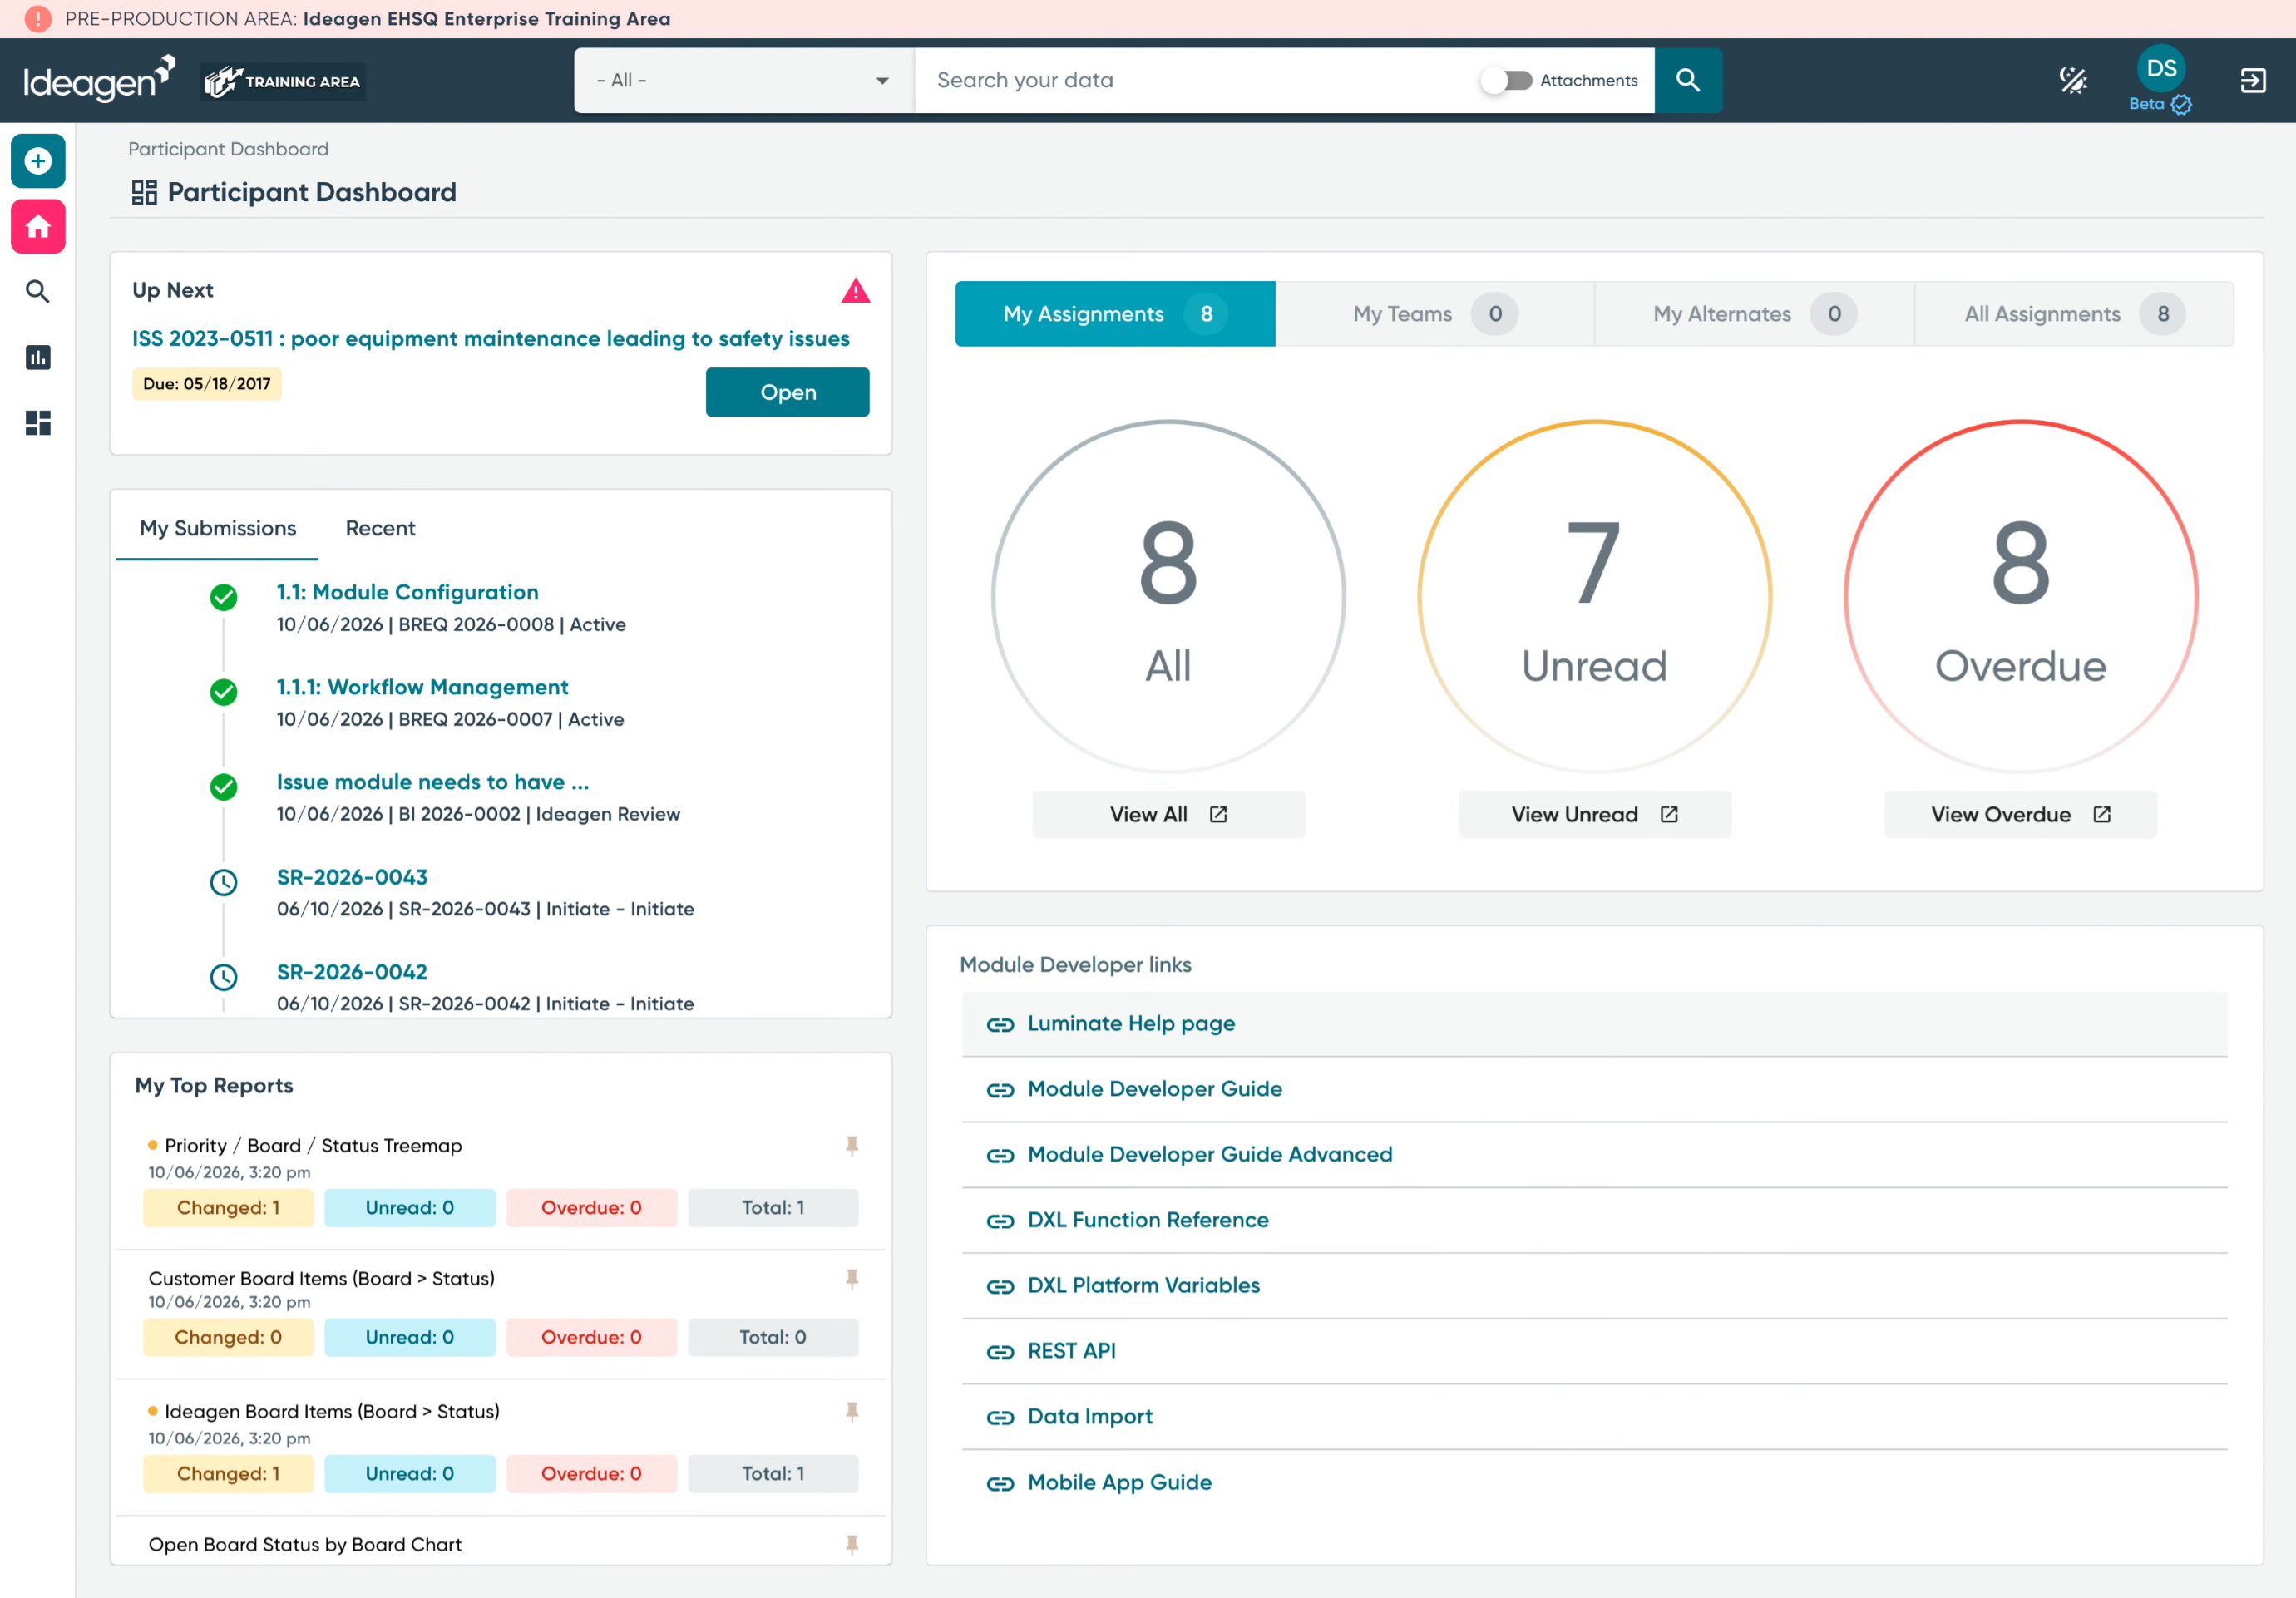
Adding a Requirement using Ideagen Boards

Who is this article for?
Product and Implementation project team members
Users must have the Ideageb Boards Participant role and access to a User Acceptance Testing (UAT) or Test area.
This article demonstrates how to enter requirements, using the Board Requirement Module.
Requirements address "what need are we trying to satisfy" and track the verification of that need being addressed. Use requirements to document the need independent of the tasks required to accomplish it.
Requirements are distinct from items. Items capture:
Specific pieces of work, such as fixing a bug, making configuration changes, or completing a task.
Have no rationale
Have no acceptance criteria
Do not represent that the overall need was met.
Multiple items may be required to satisfy a single requirement.
Requirement tracking is enabled on a board-by-board basis.
1. Creating a Board Requirement using a shortcut
To create a requirement, open the Create New menu and select "Board Requirement".
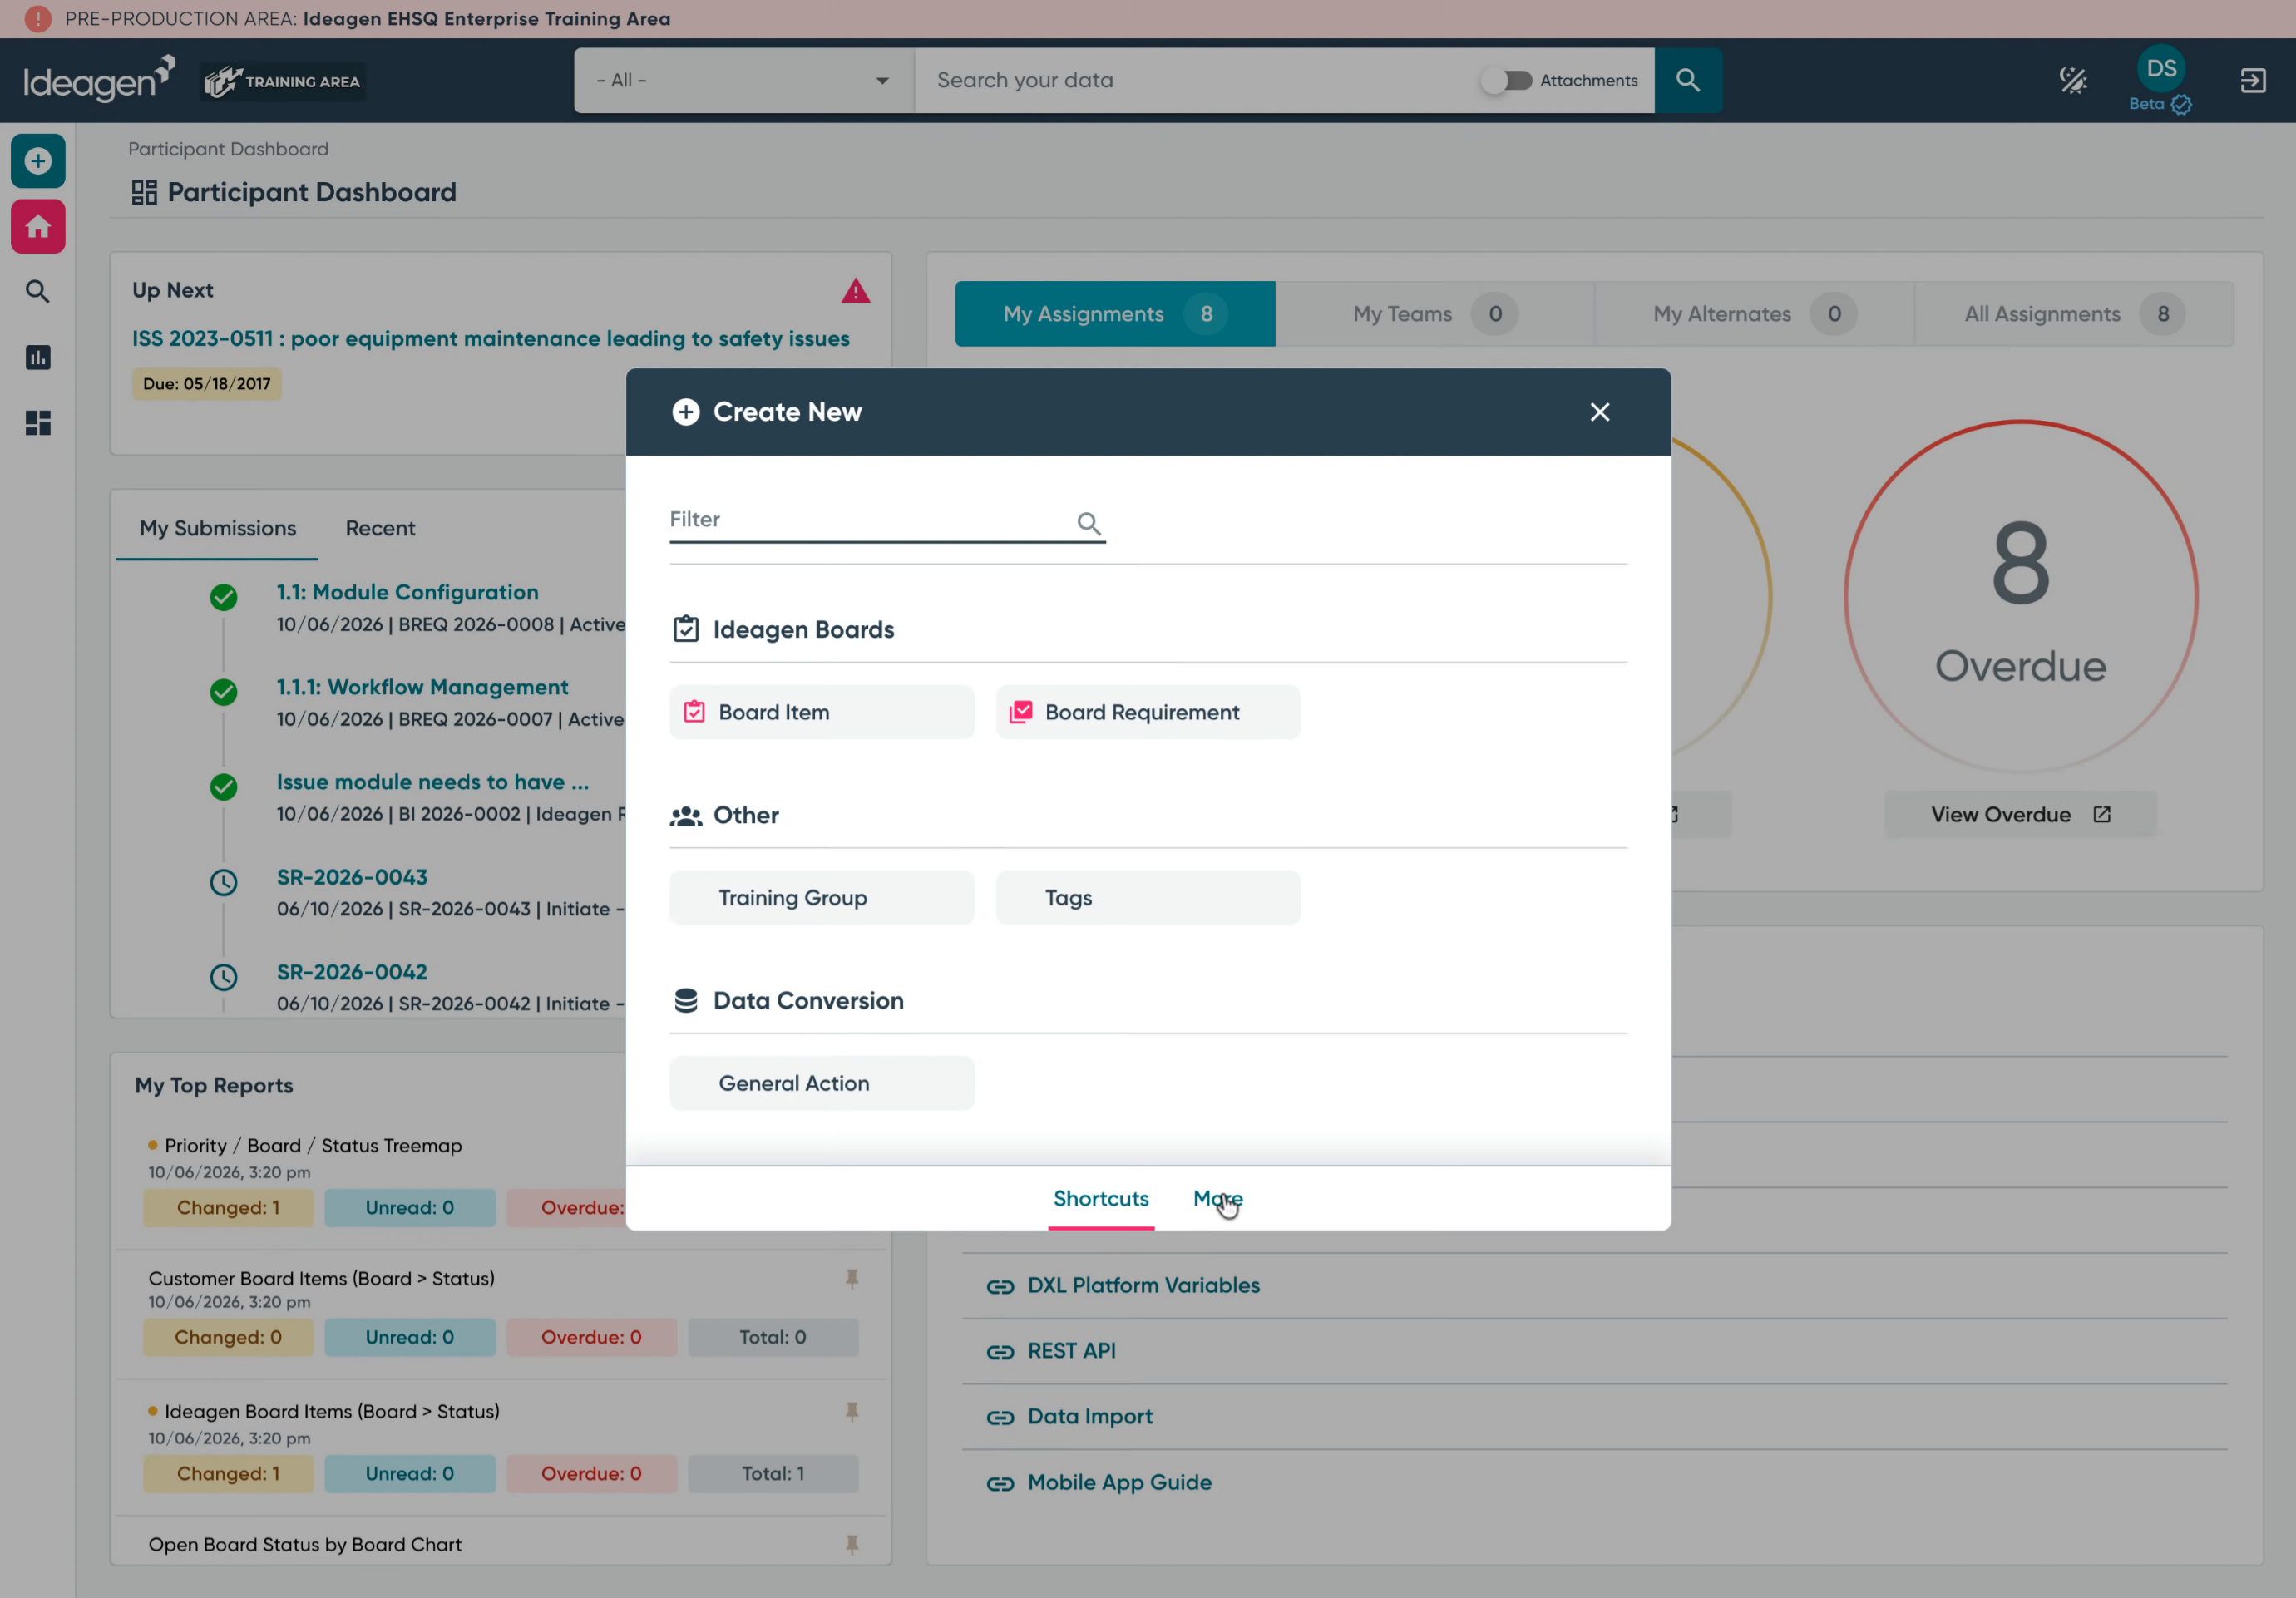
2. Creating a Board Requirement using the full create new menu
If the shortcut has not been added to your Create New menu, go to the "More" option, Find Board Requirement in the list.
3. Requirement Window Sections
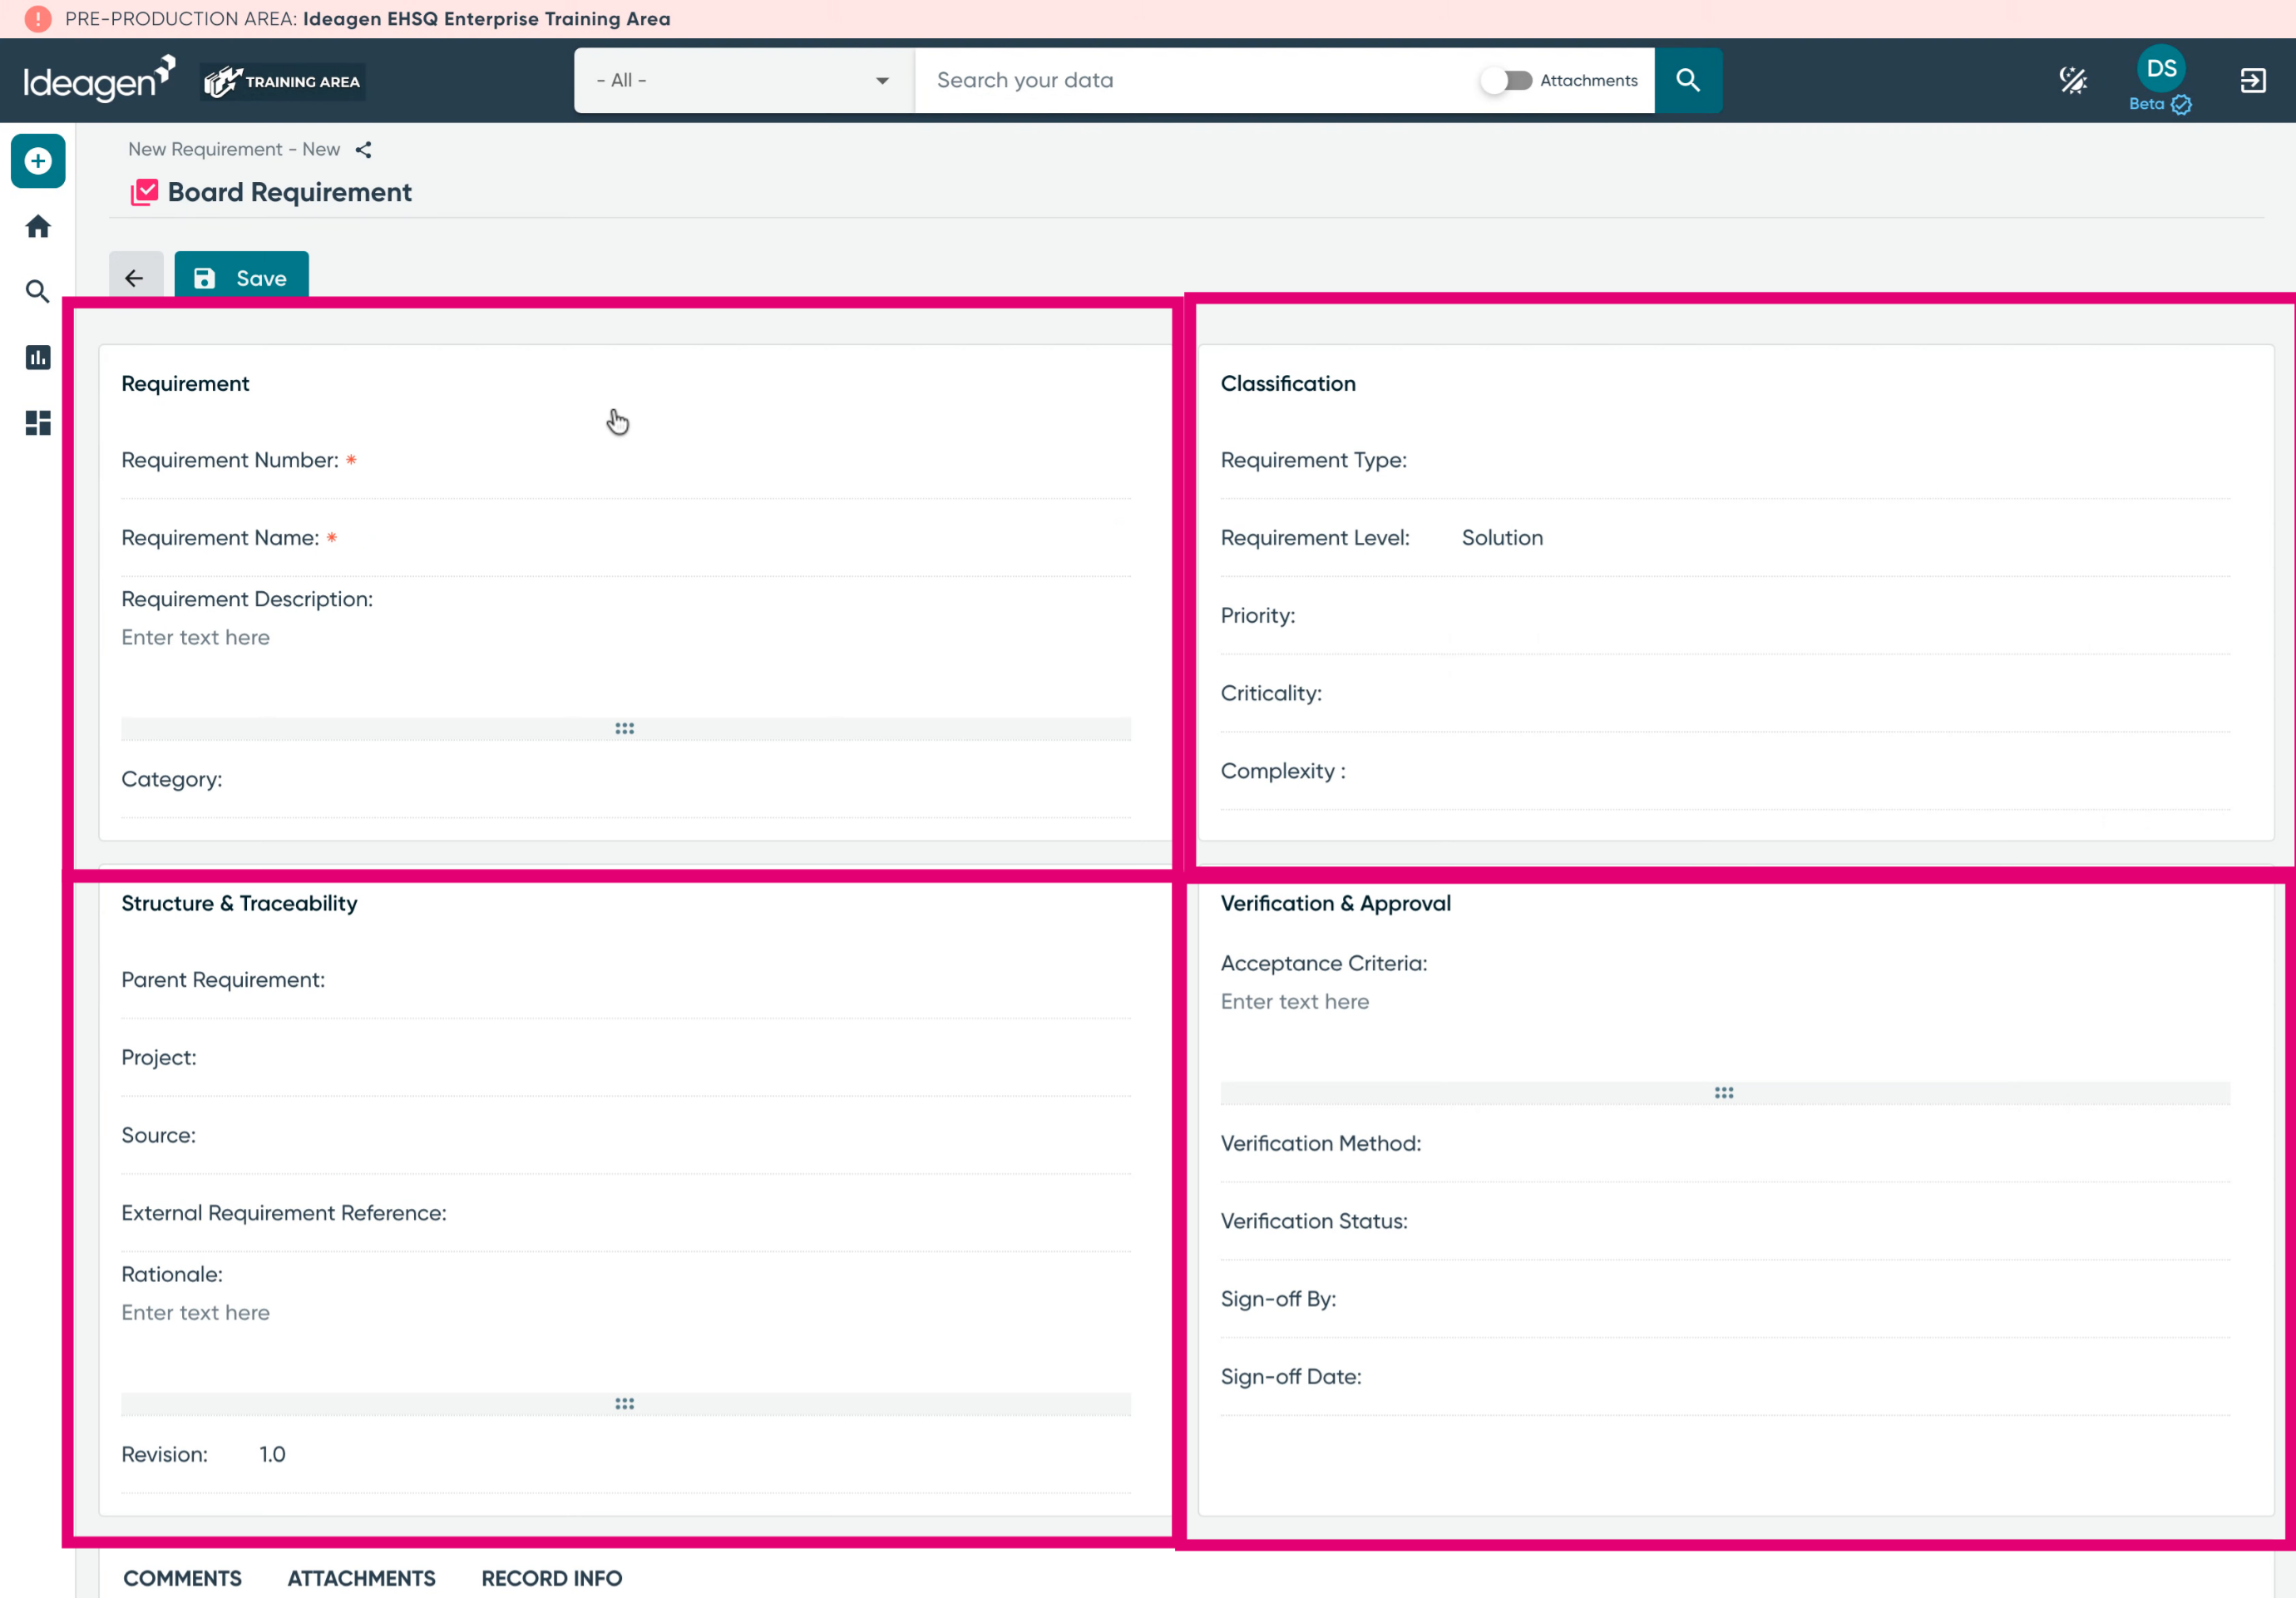
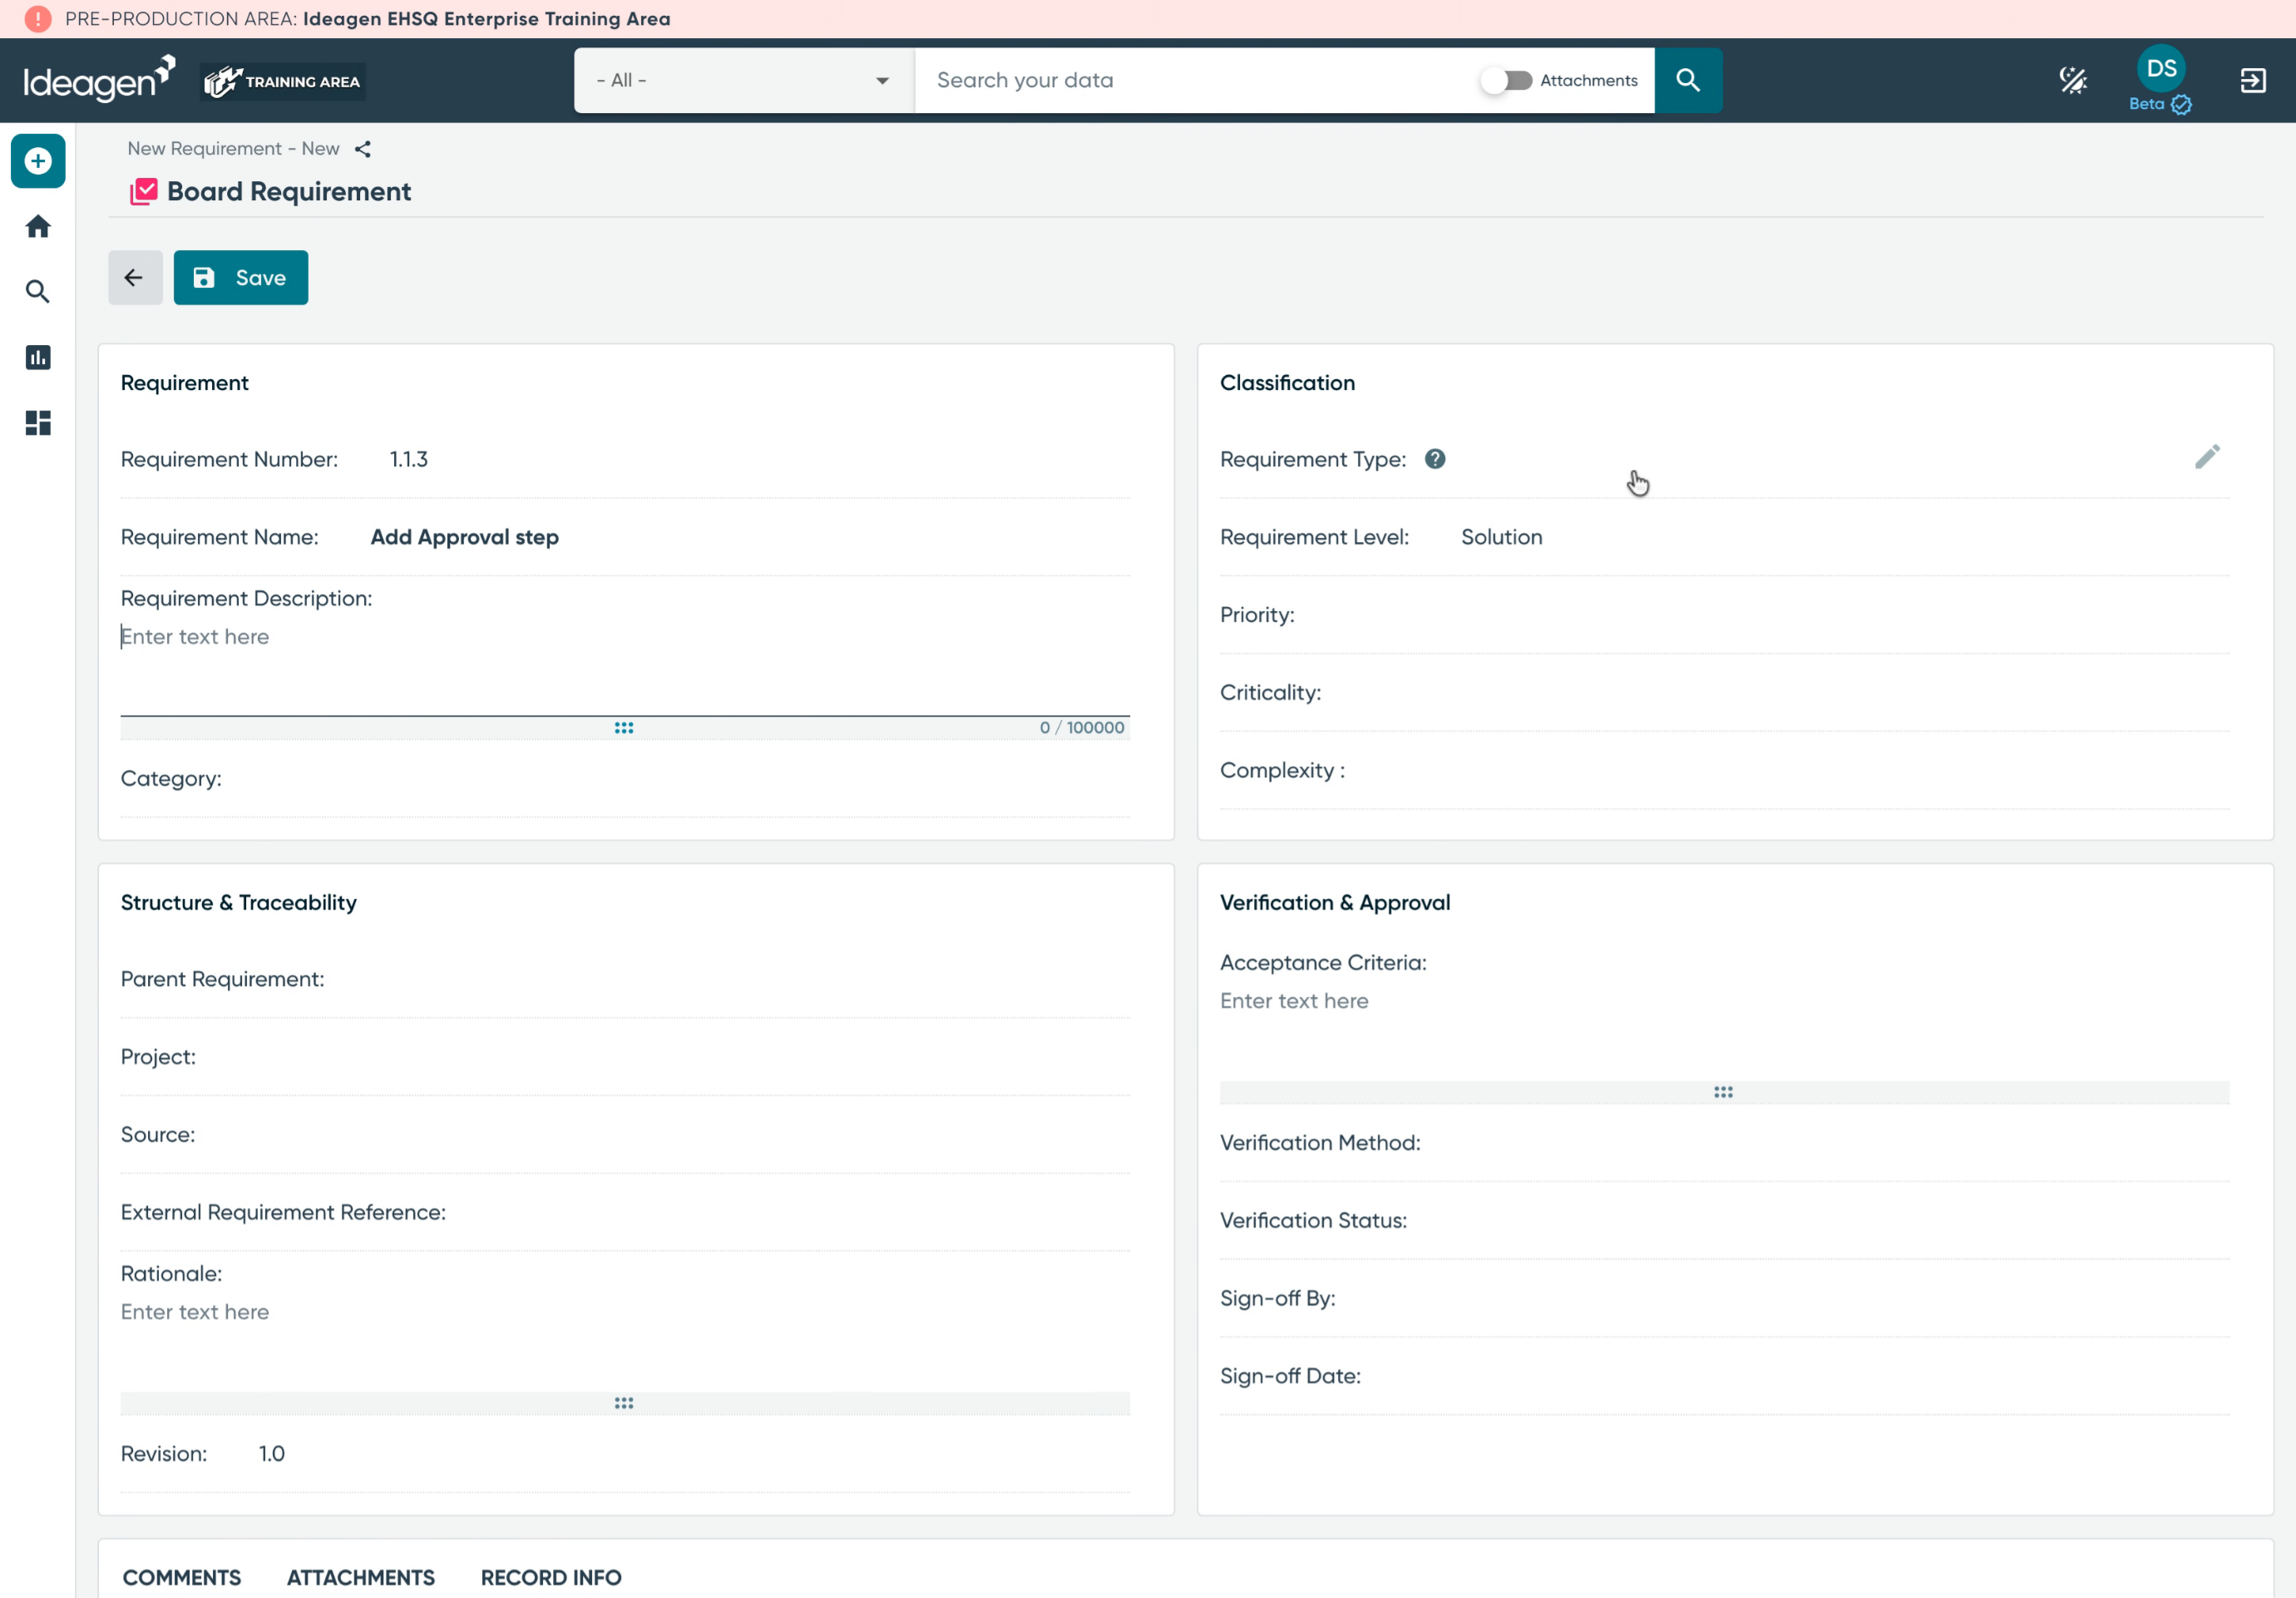
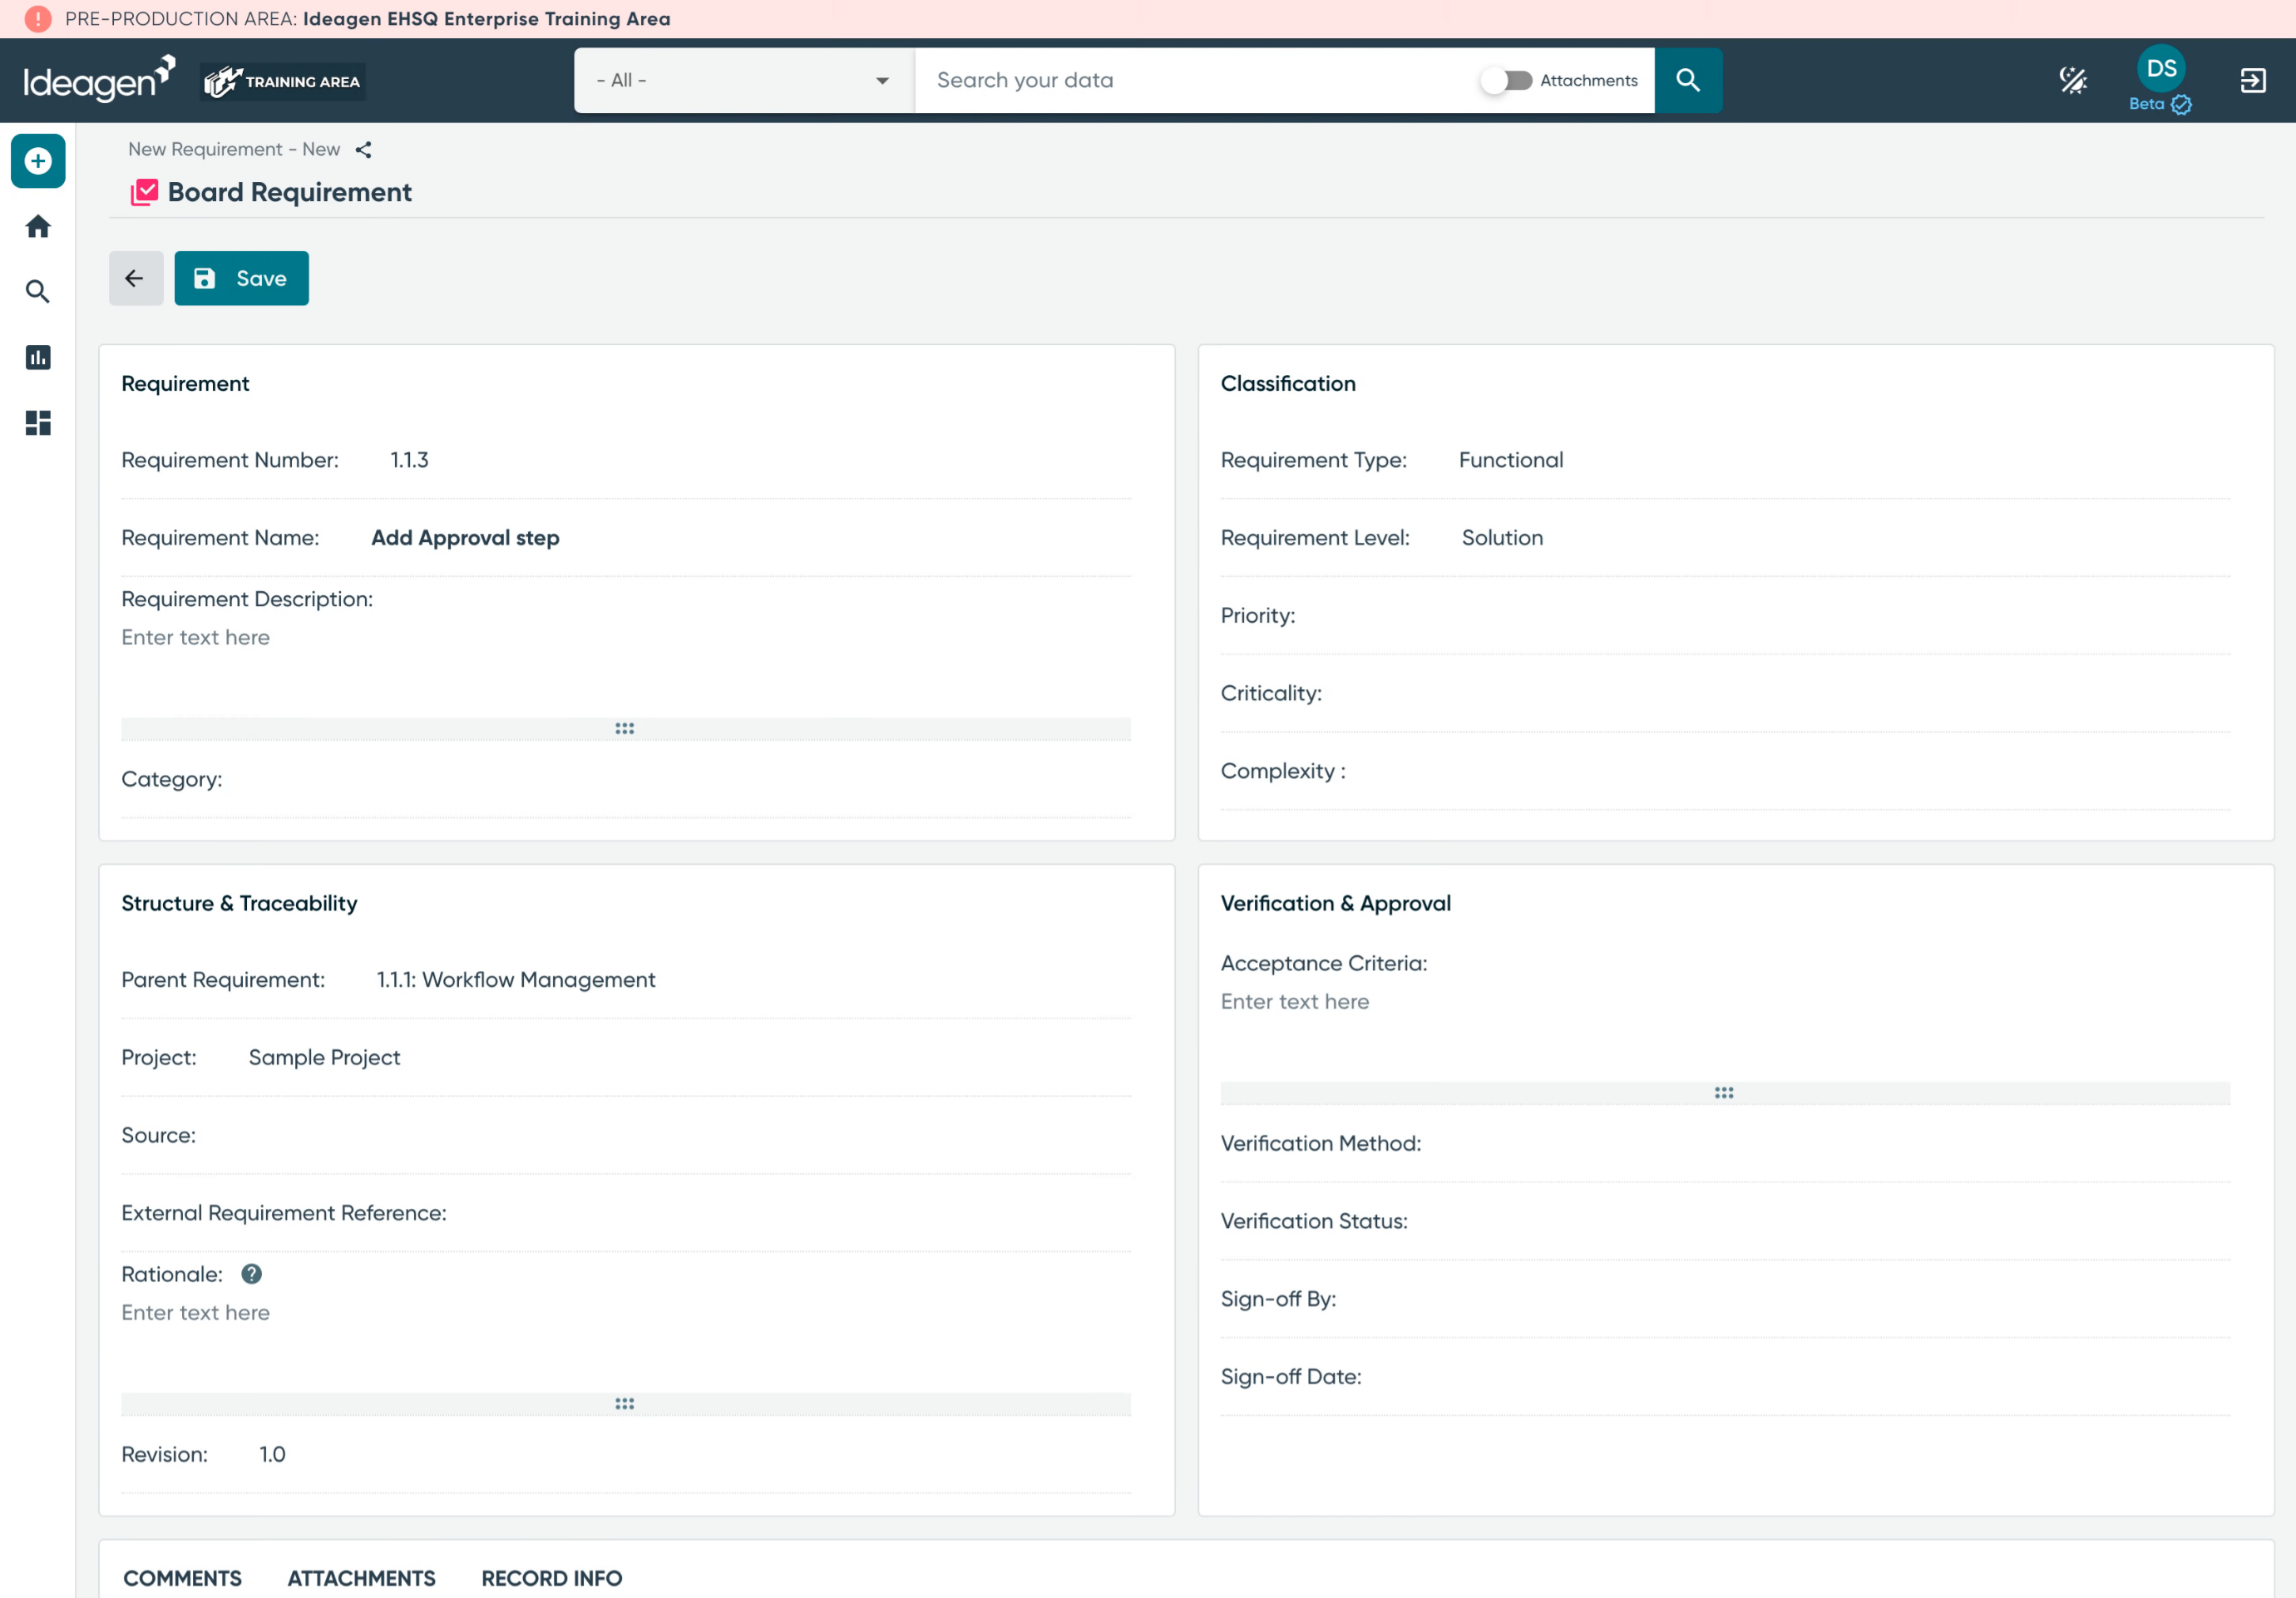
The Requirement has four main sections.
- In the upper left, the basic requirement details - notice that only two fields are manditory when creating a requirement. The requirement number allows you to use your own set of requirement tracking numbers but must be unique across all requirements entered into the system.
- In the upper right, classification information.
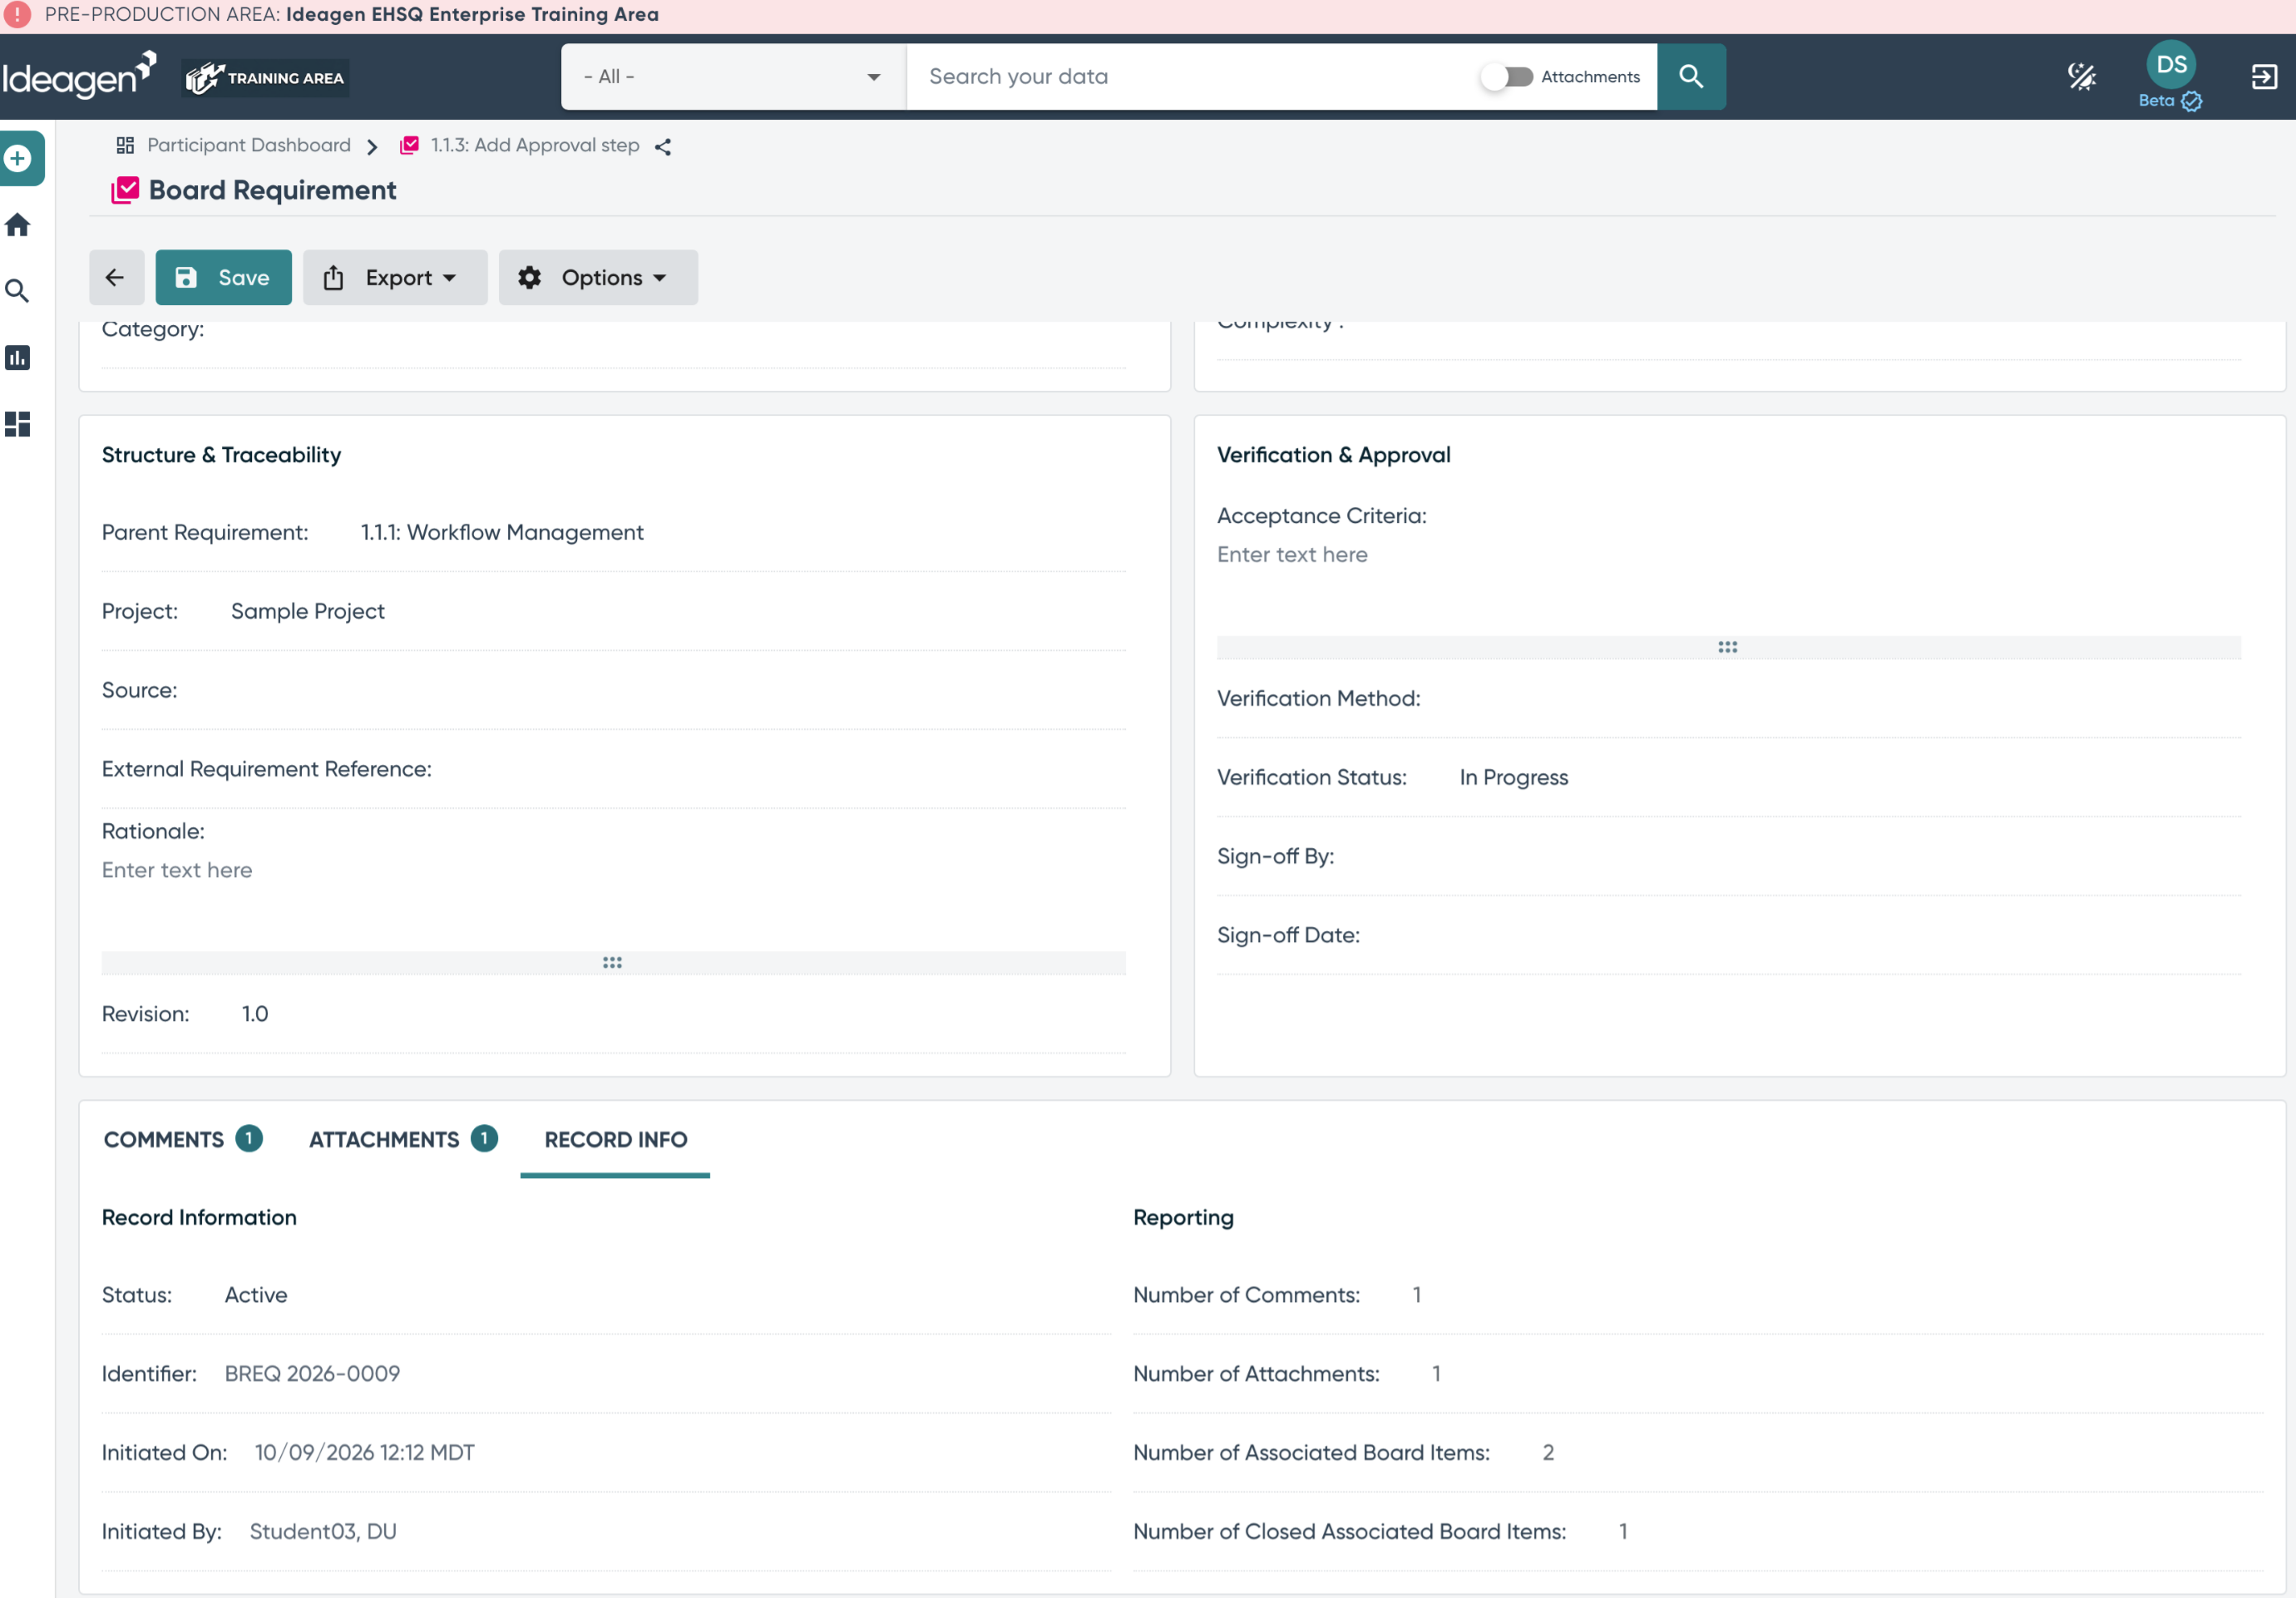
- In the bottom left, structure and traceability.
- in the bottom right, verification and approval.
4. Requirement Name And Description
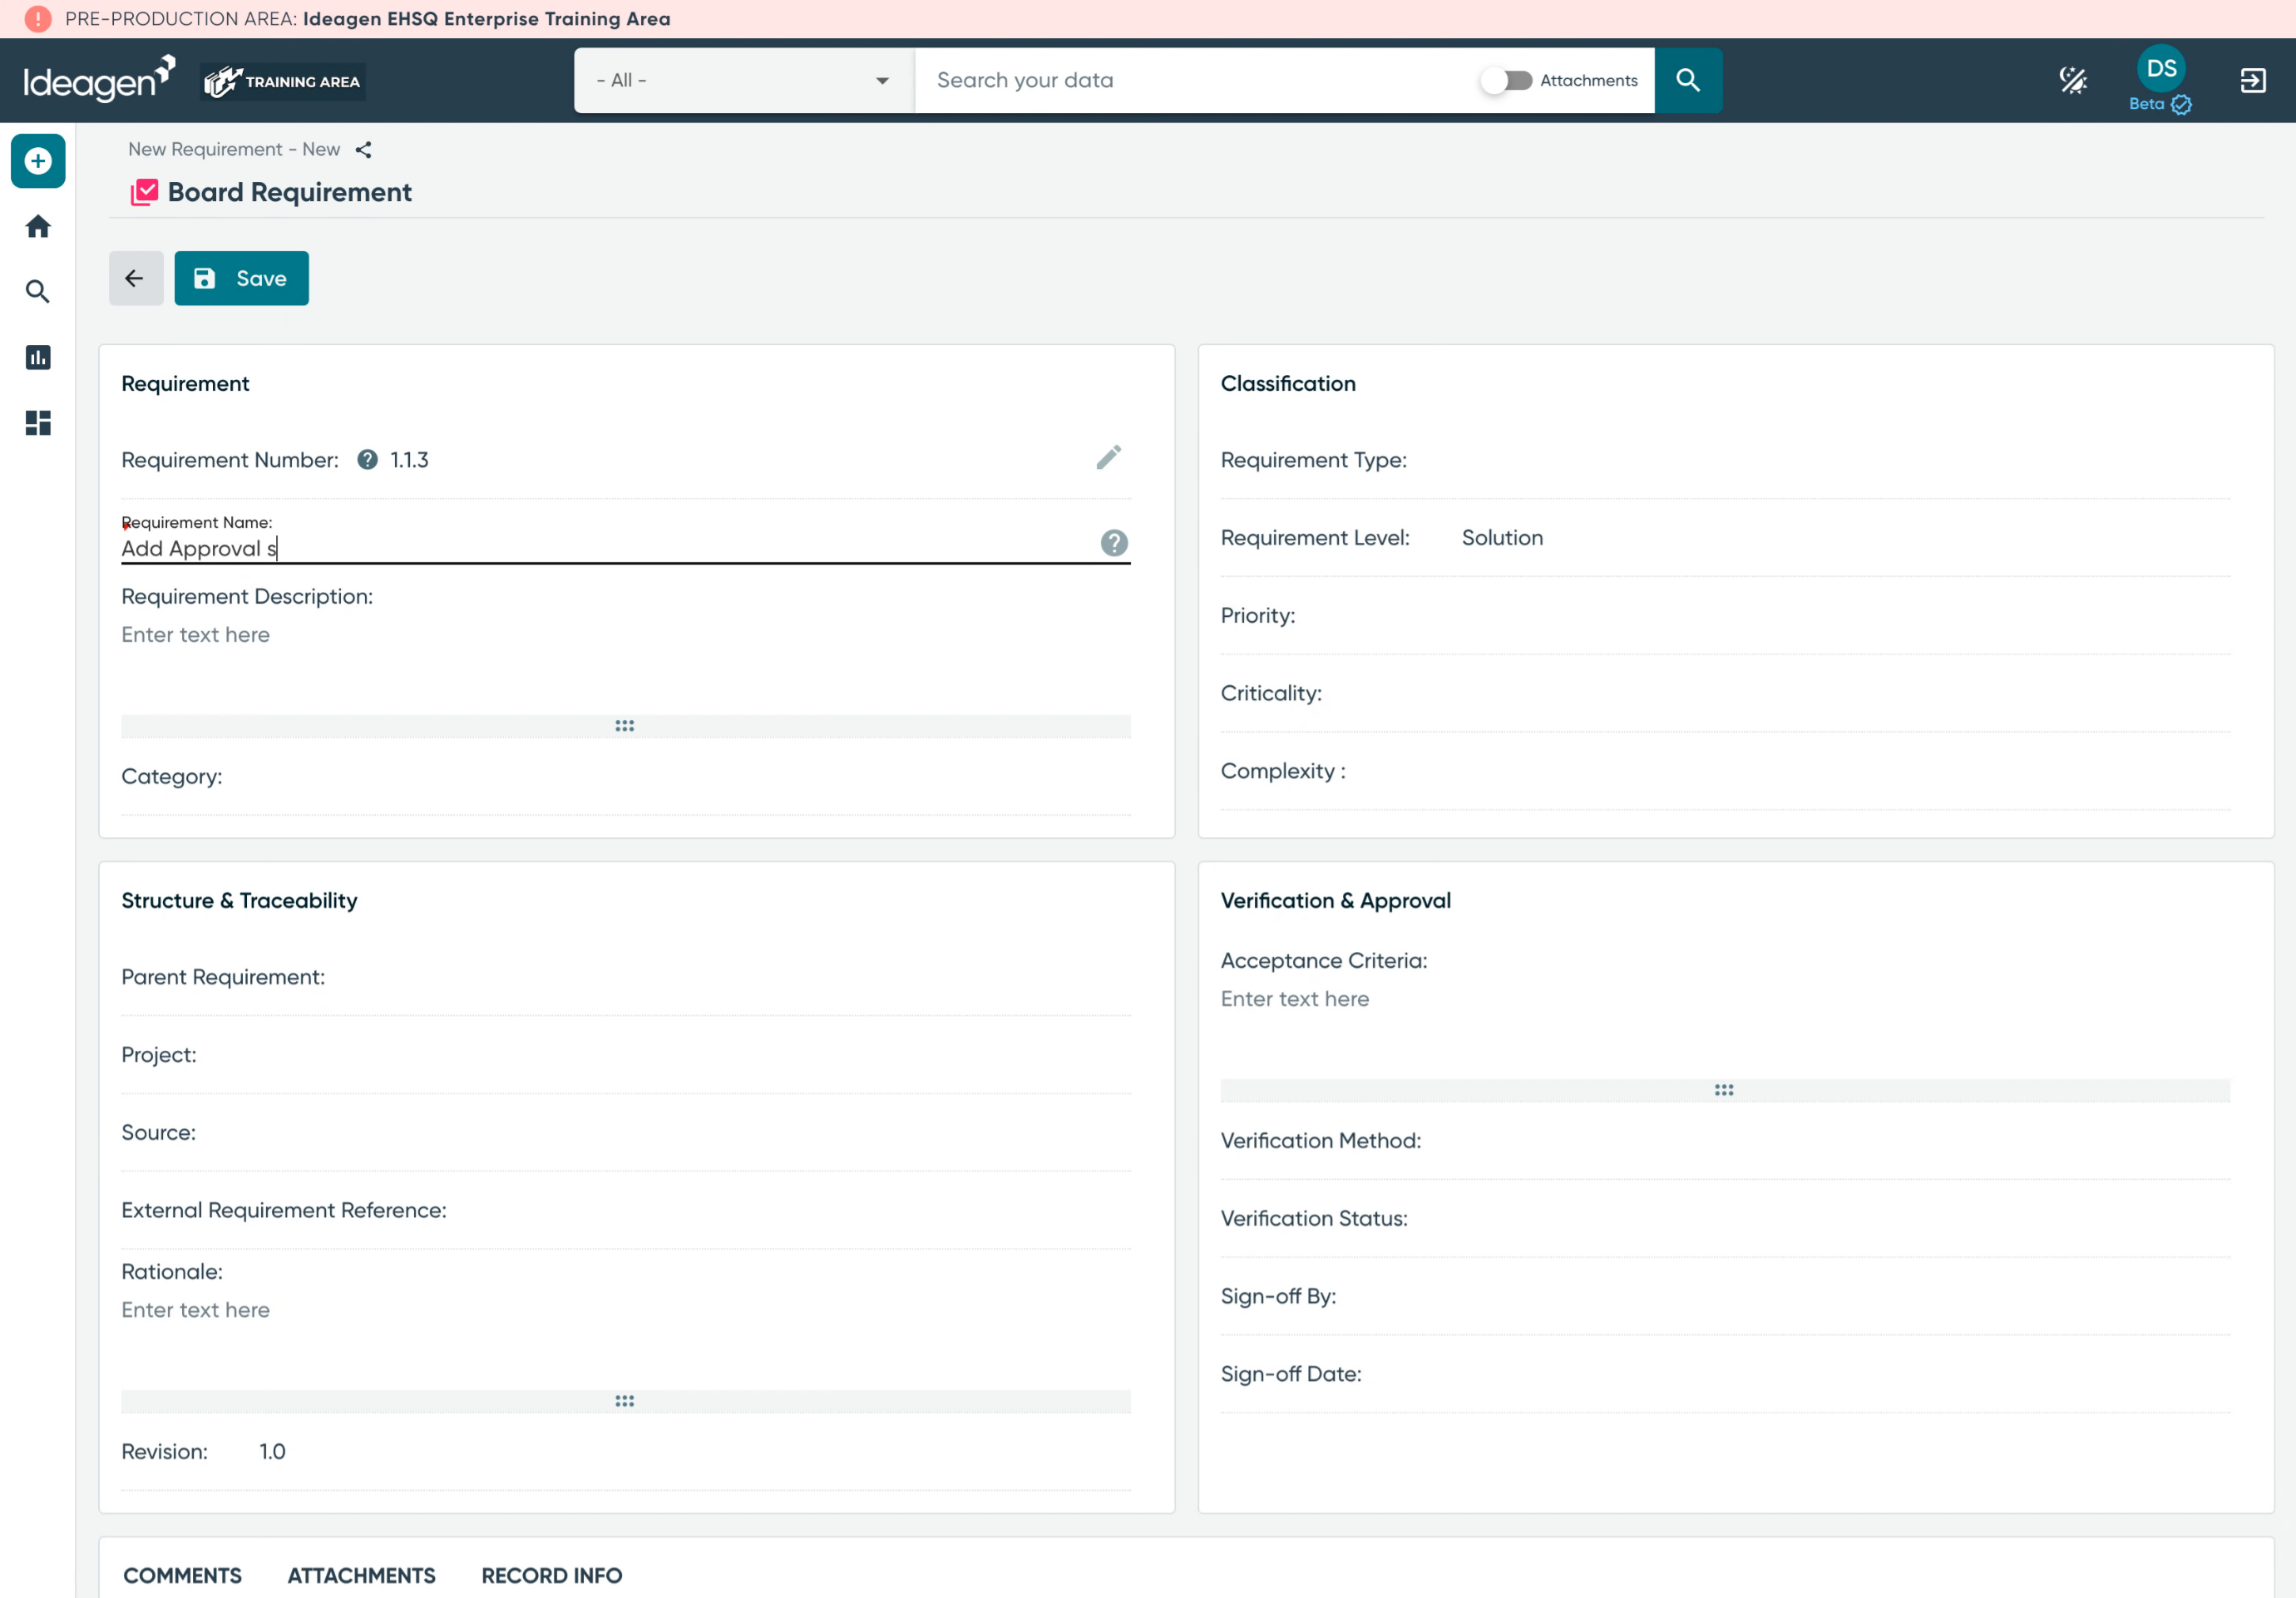
The requirement name enables you to input a concise title for the requirement. The requirement description allows for a more comprehensive explanation of the specific requirement. The category is optional and can be utilized to organize requirements into various groupings.
5. Requirement Classification
In the upper right, the classification section allows you to classify the requirement by type, such as functional or non-functional. By requirement level, such as solution, stakeholder, or for the entire business. The field defaults to solution.
6. Priority, Criticality, & Complexity
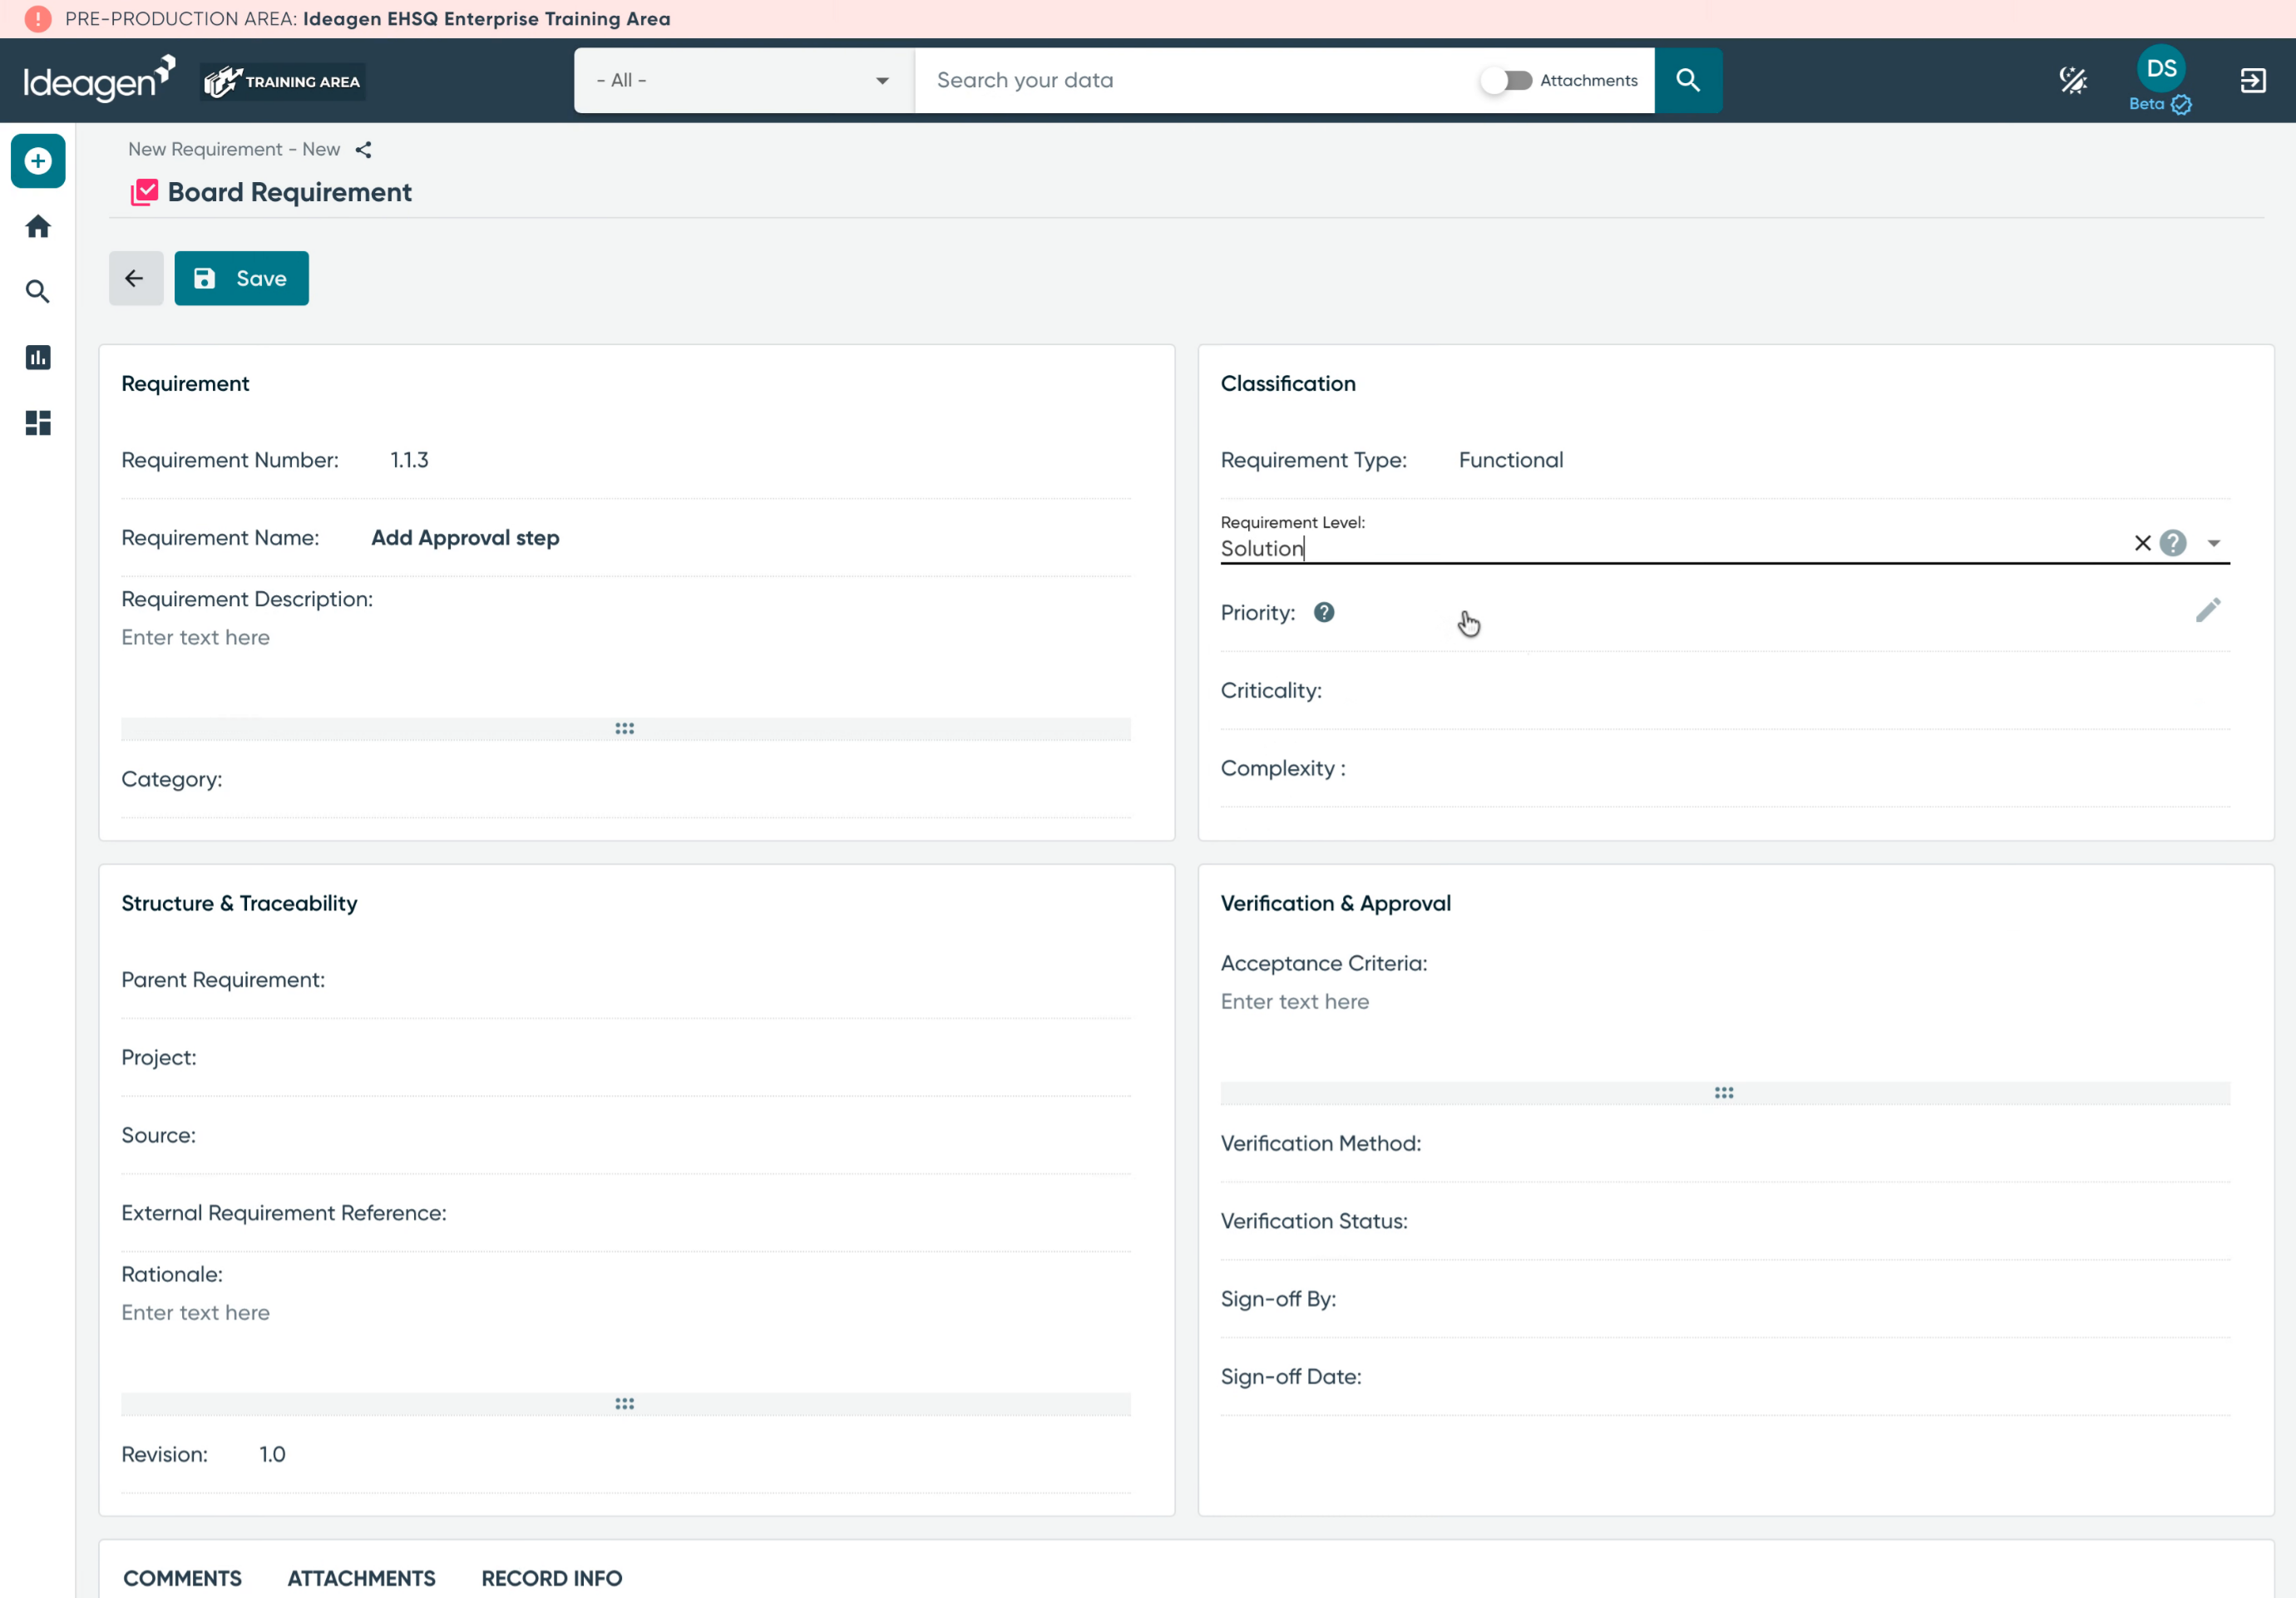
The priority, criticality, and complexity enable you to rank the requirement in three distinct ways.
- Priority refers to the delivery order, or "how soon".
- Criticality indicates the consequences of not meeting the requirement, or "how bad"
- Complexity represents the effort involved in designing, building, and testing, or "how hard"
7. Structure And Traceability
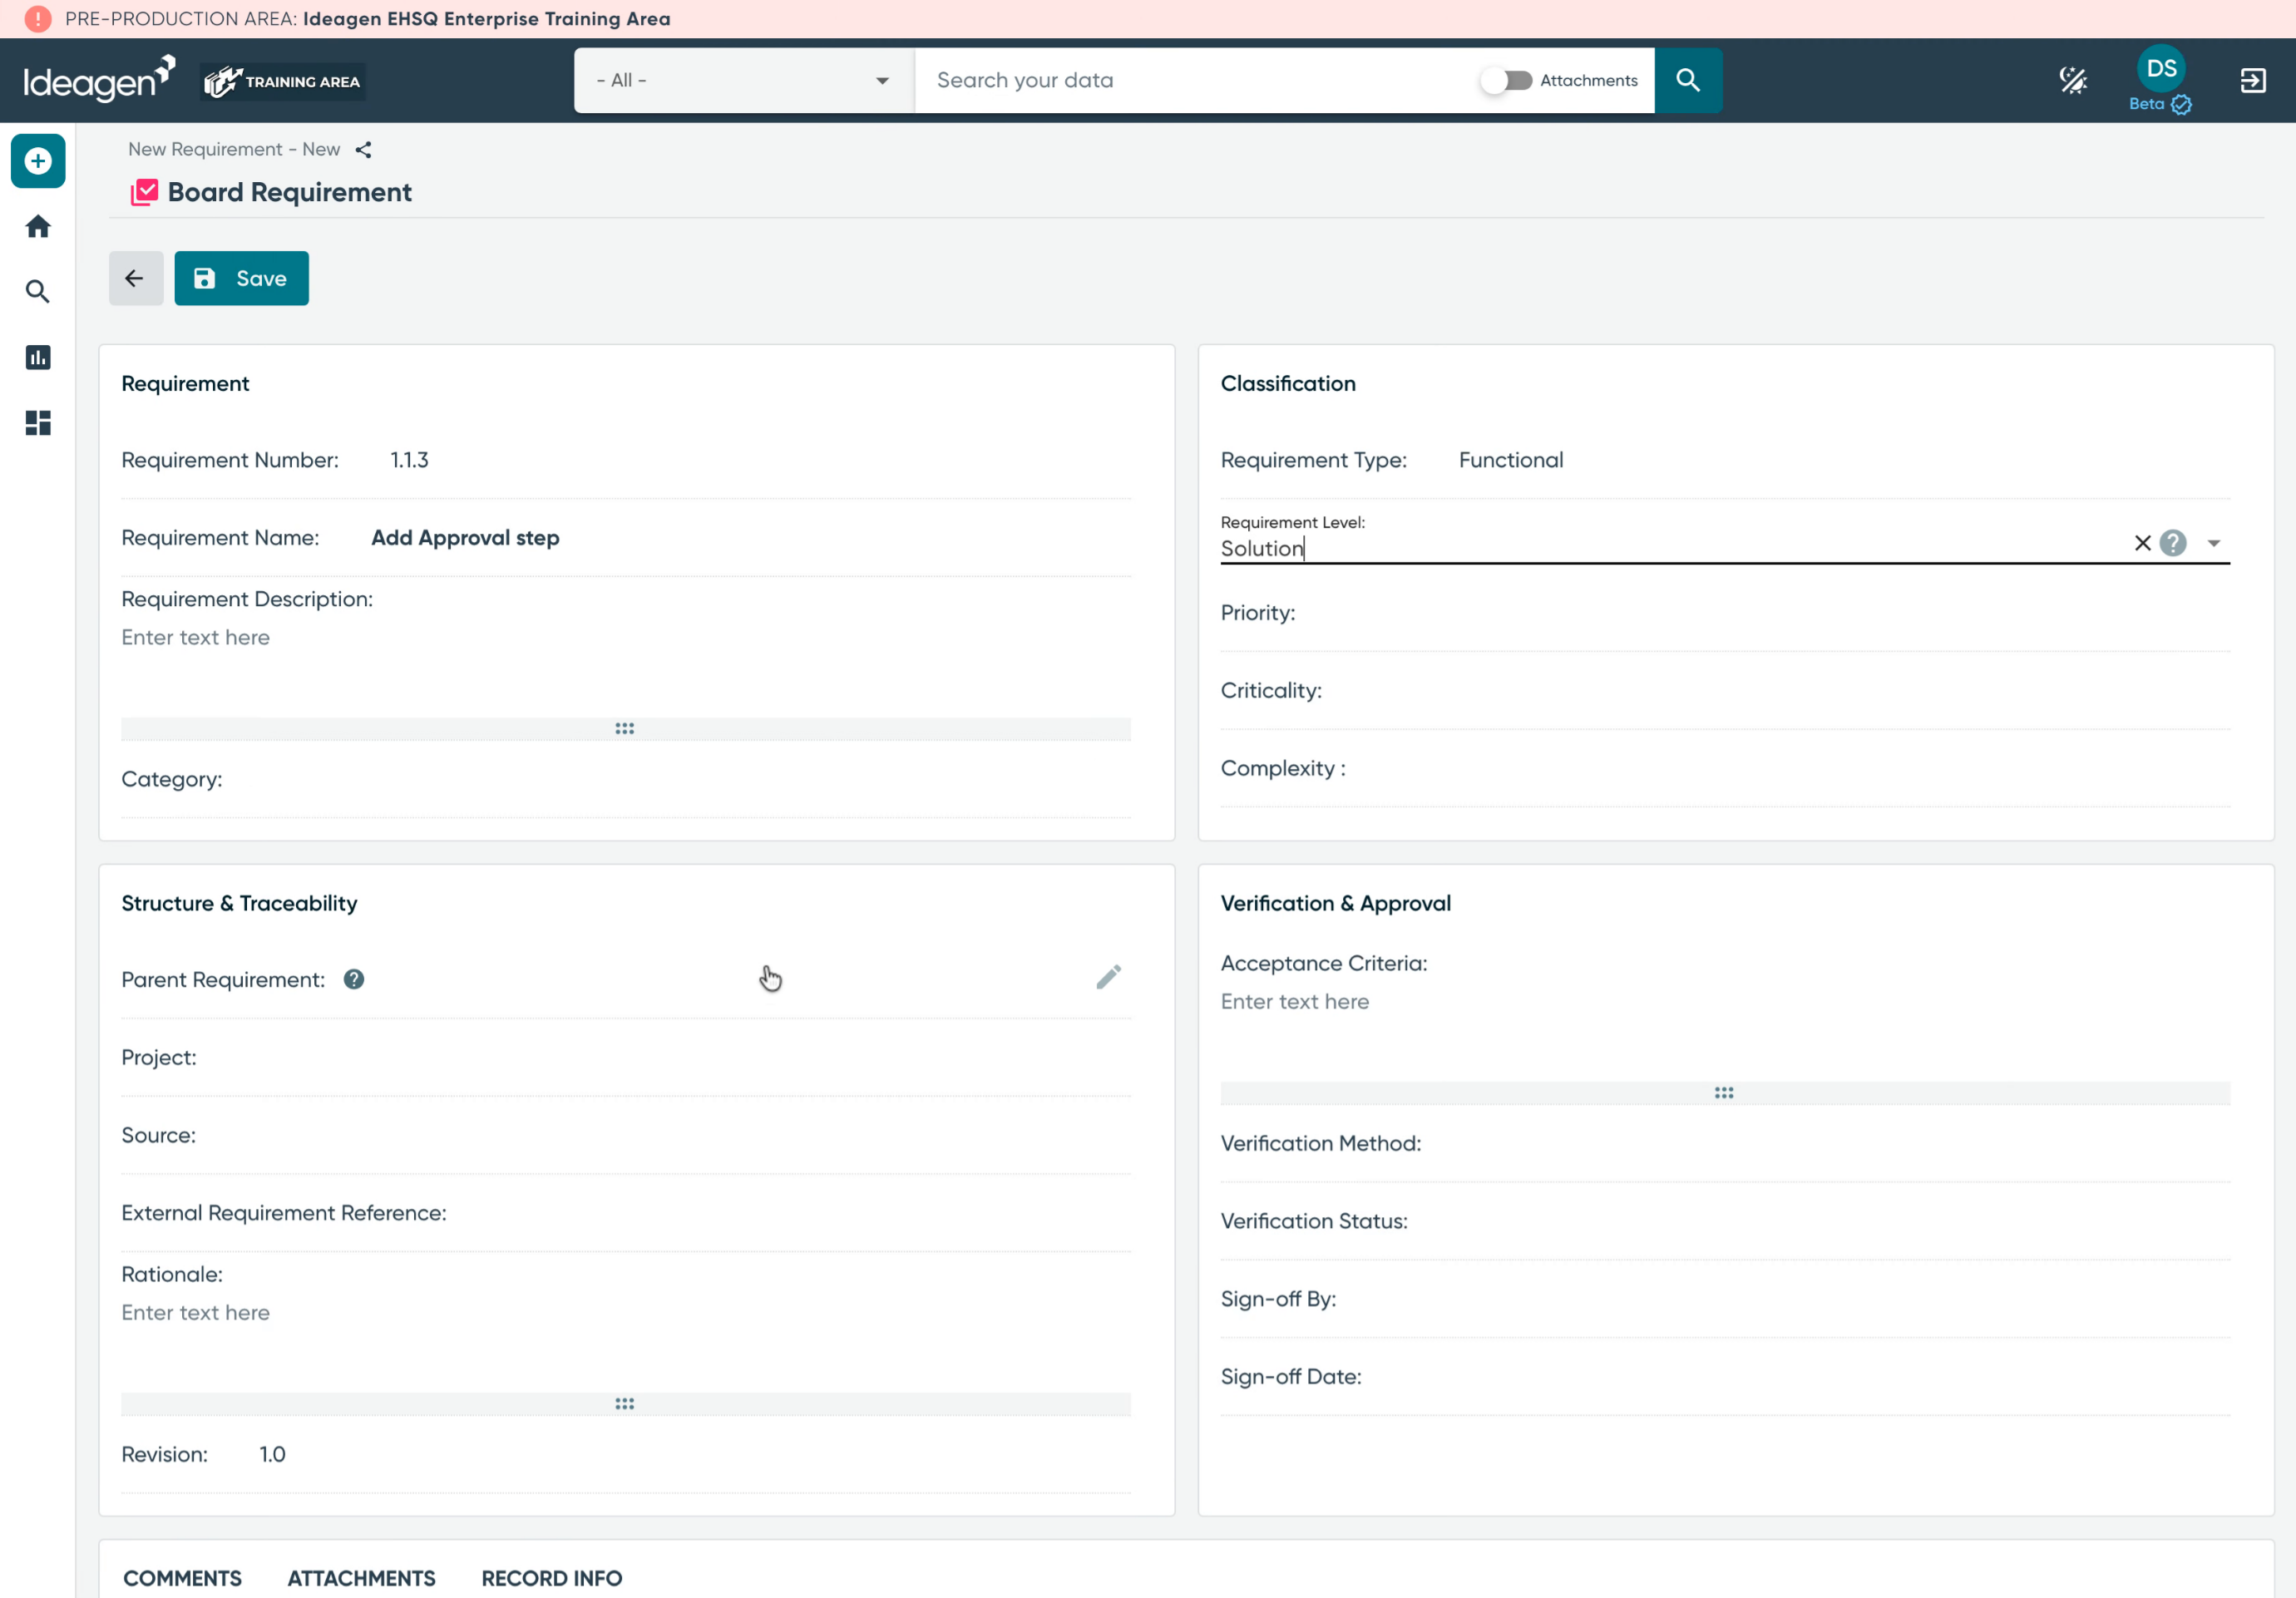
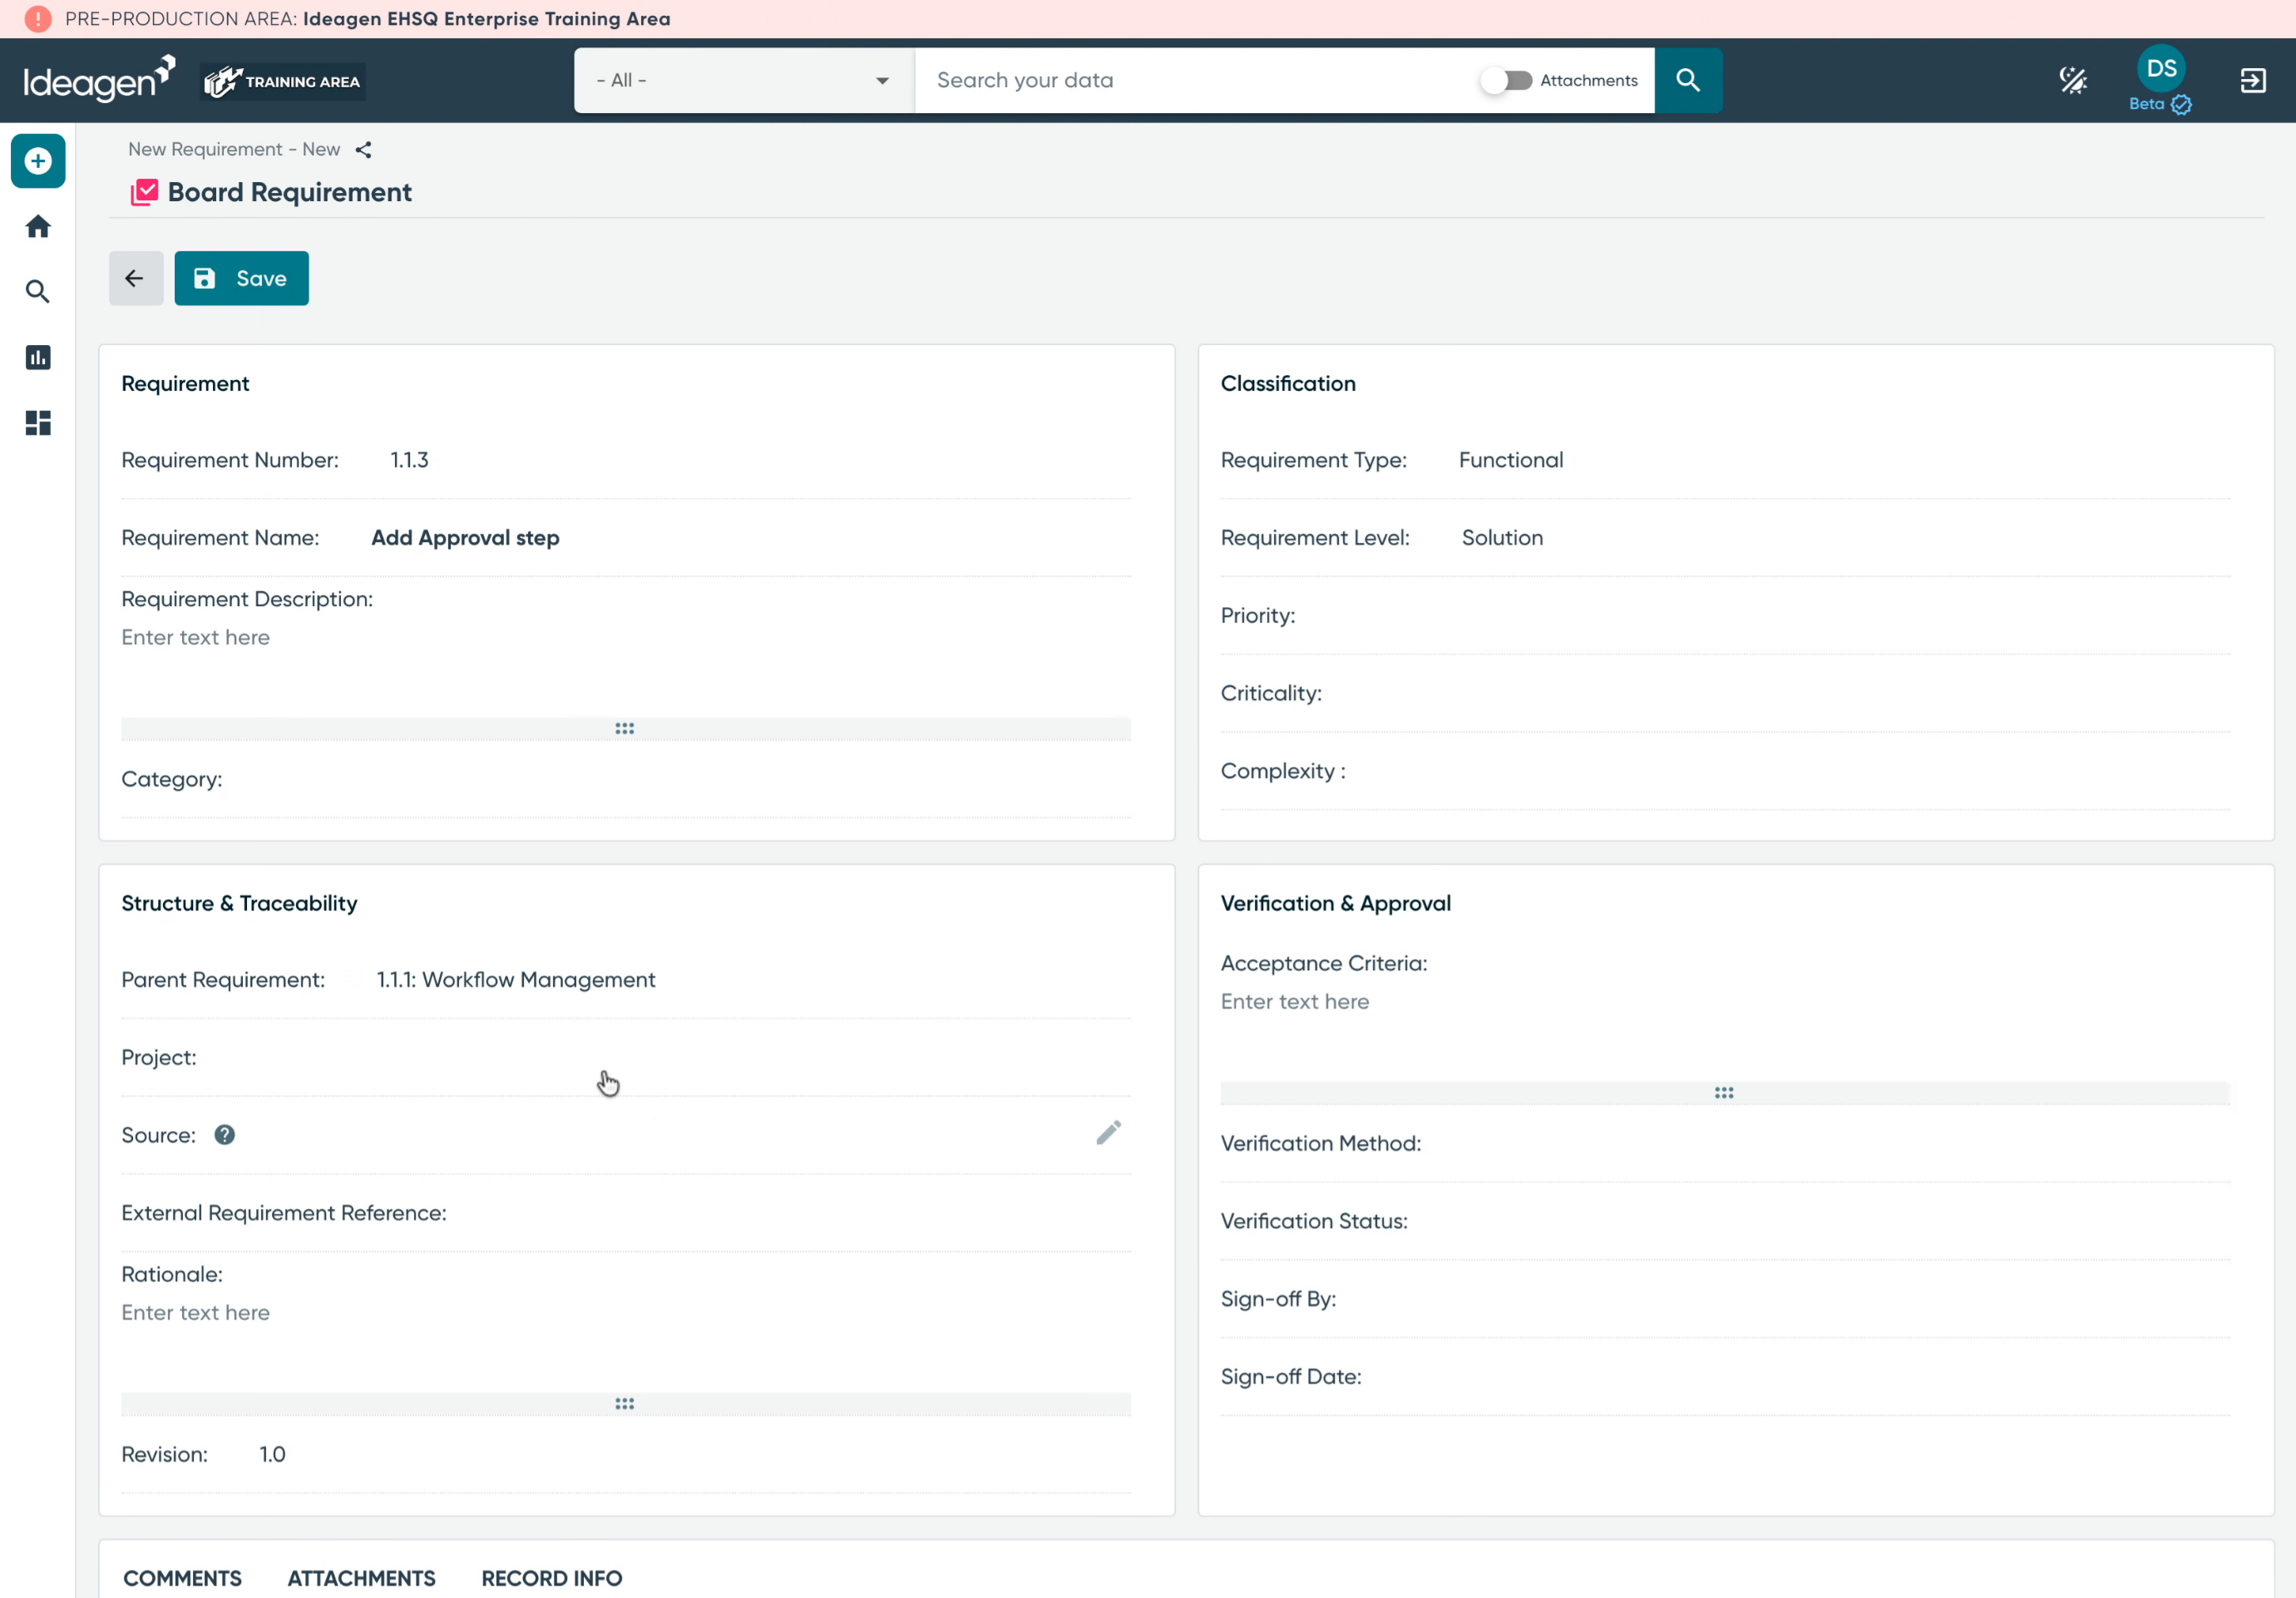
In the Structure and Traceability section, the parent requirement field enables you to establish a hierarchy of requirements. In this example, you will see that I have already created a hierarchy of requirements, and I will position this requirement beneath the workflow management requirement.
8. Project Association
Requirements can be associated with a given project or project phase, so that if multiple projects exist in the area, requirements can be filtered by project.
9. Source And Revision number
The Source and External Requirement Reference allow you to cite and report on where the requirement came from. Revision allows you to change the revision number if the requirement changes over time. This field defaults to 1.0.
10. Requirement Rationale
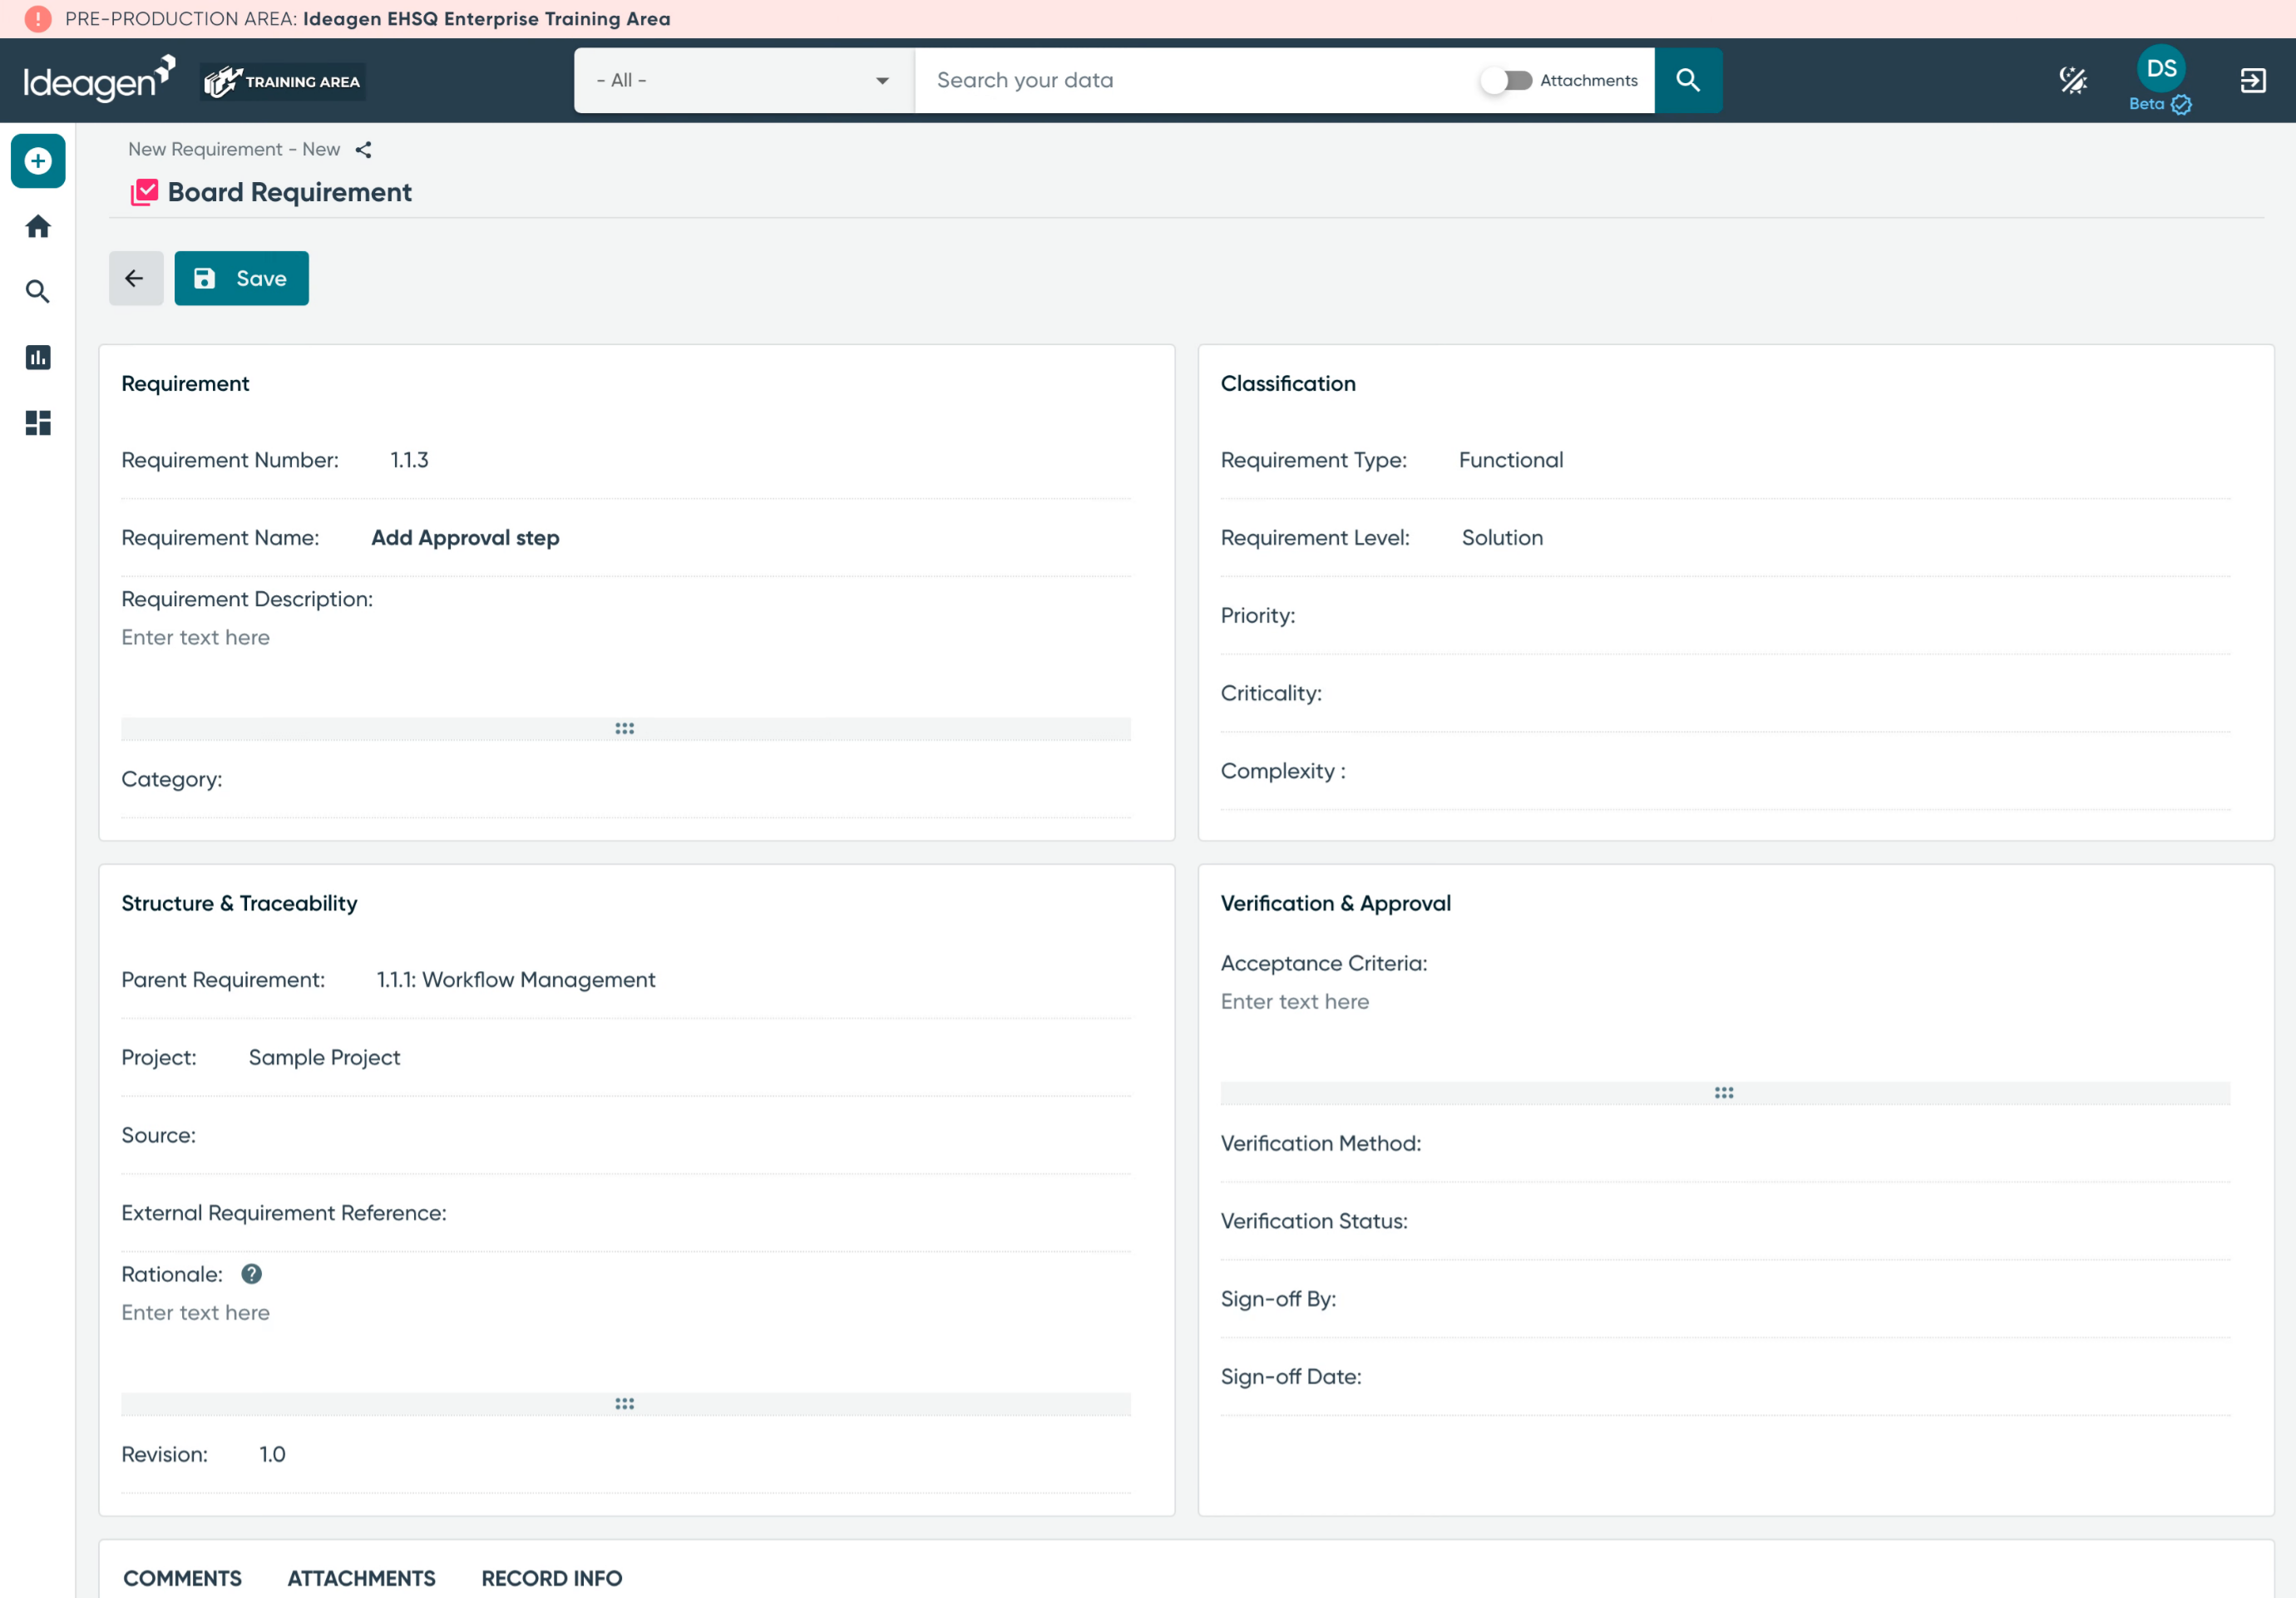
The Rationale field allows you to capture the rationale for "Why the requirement exists?" This is useful for understanding the impact of requirement changes that may be requested over time.
11. Verification And Approval Panel
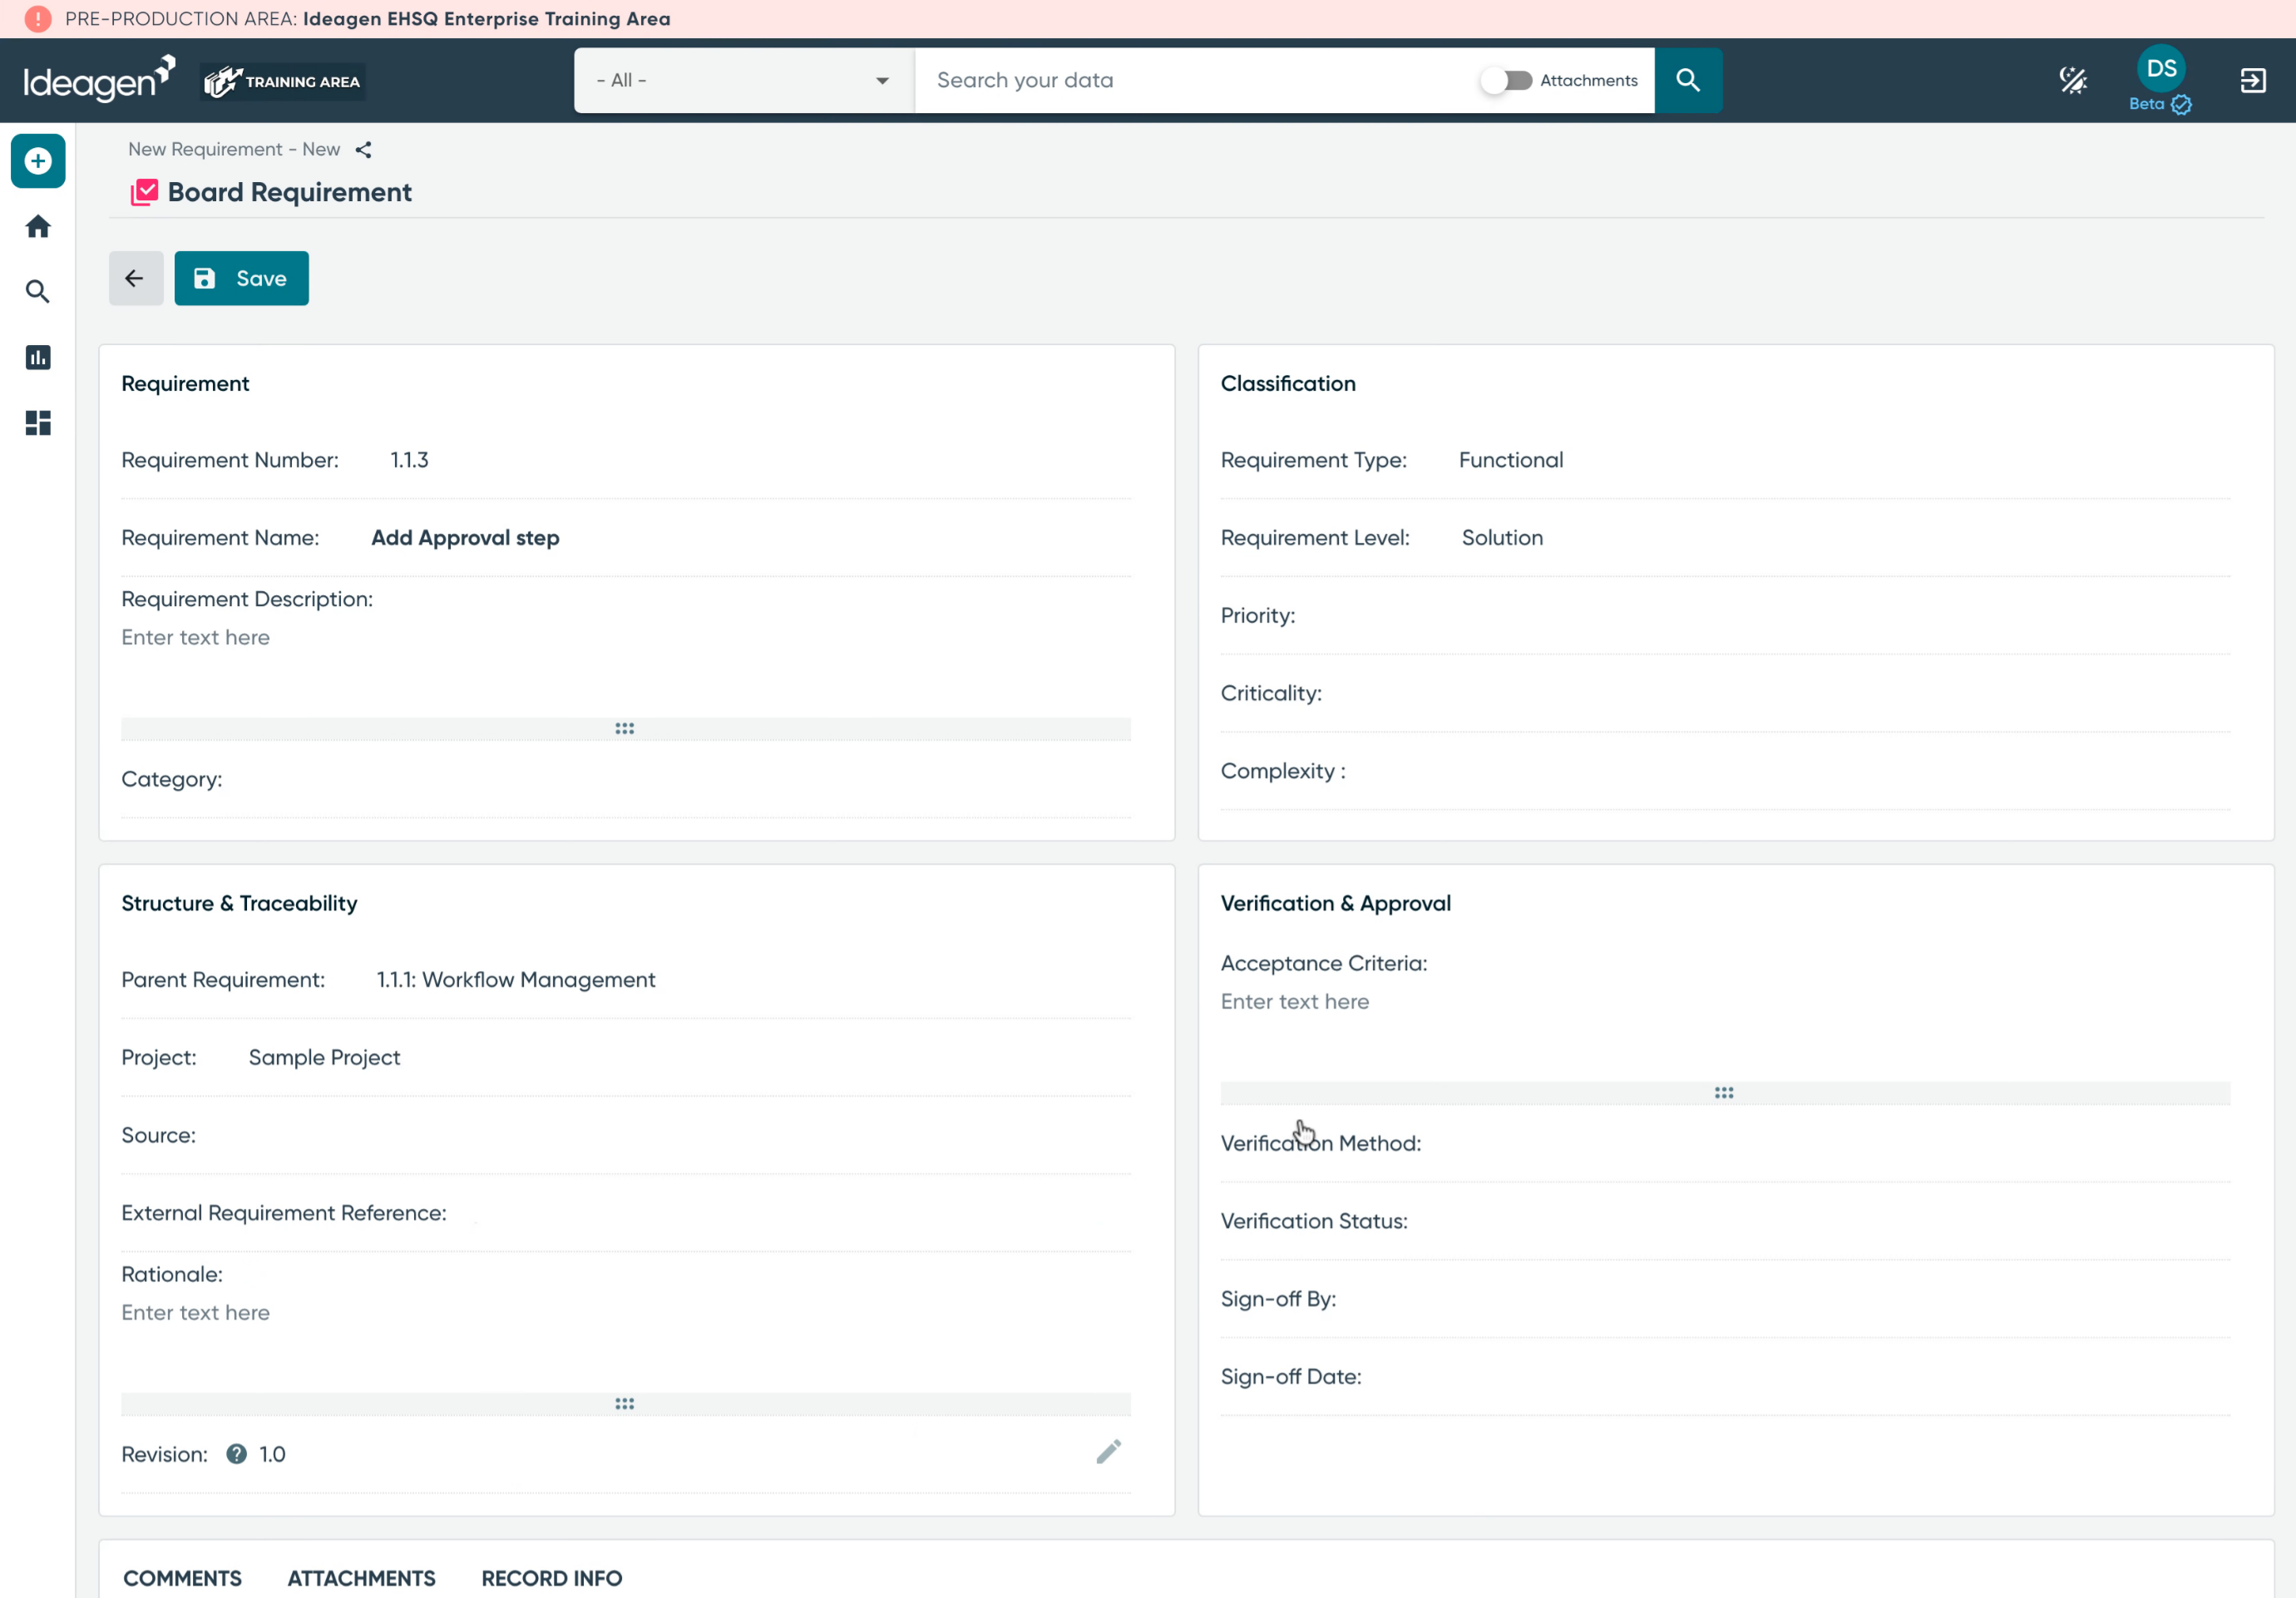
The Verification and Approval section is where you document requirement testing and completion. The acceptance criteria defines the conditions that must be satisfied to meet the requirement. Verification method allows you to categorize how the requirement will be tested. The verification status allows you to document the current state of the requirement.
Notice that the verification status of the Requirement is set independently of the items that address the requirement.
12. Comments, Attachments, and Record Info
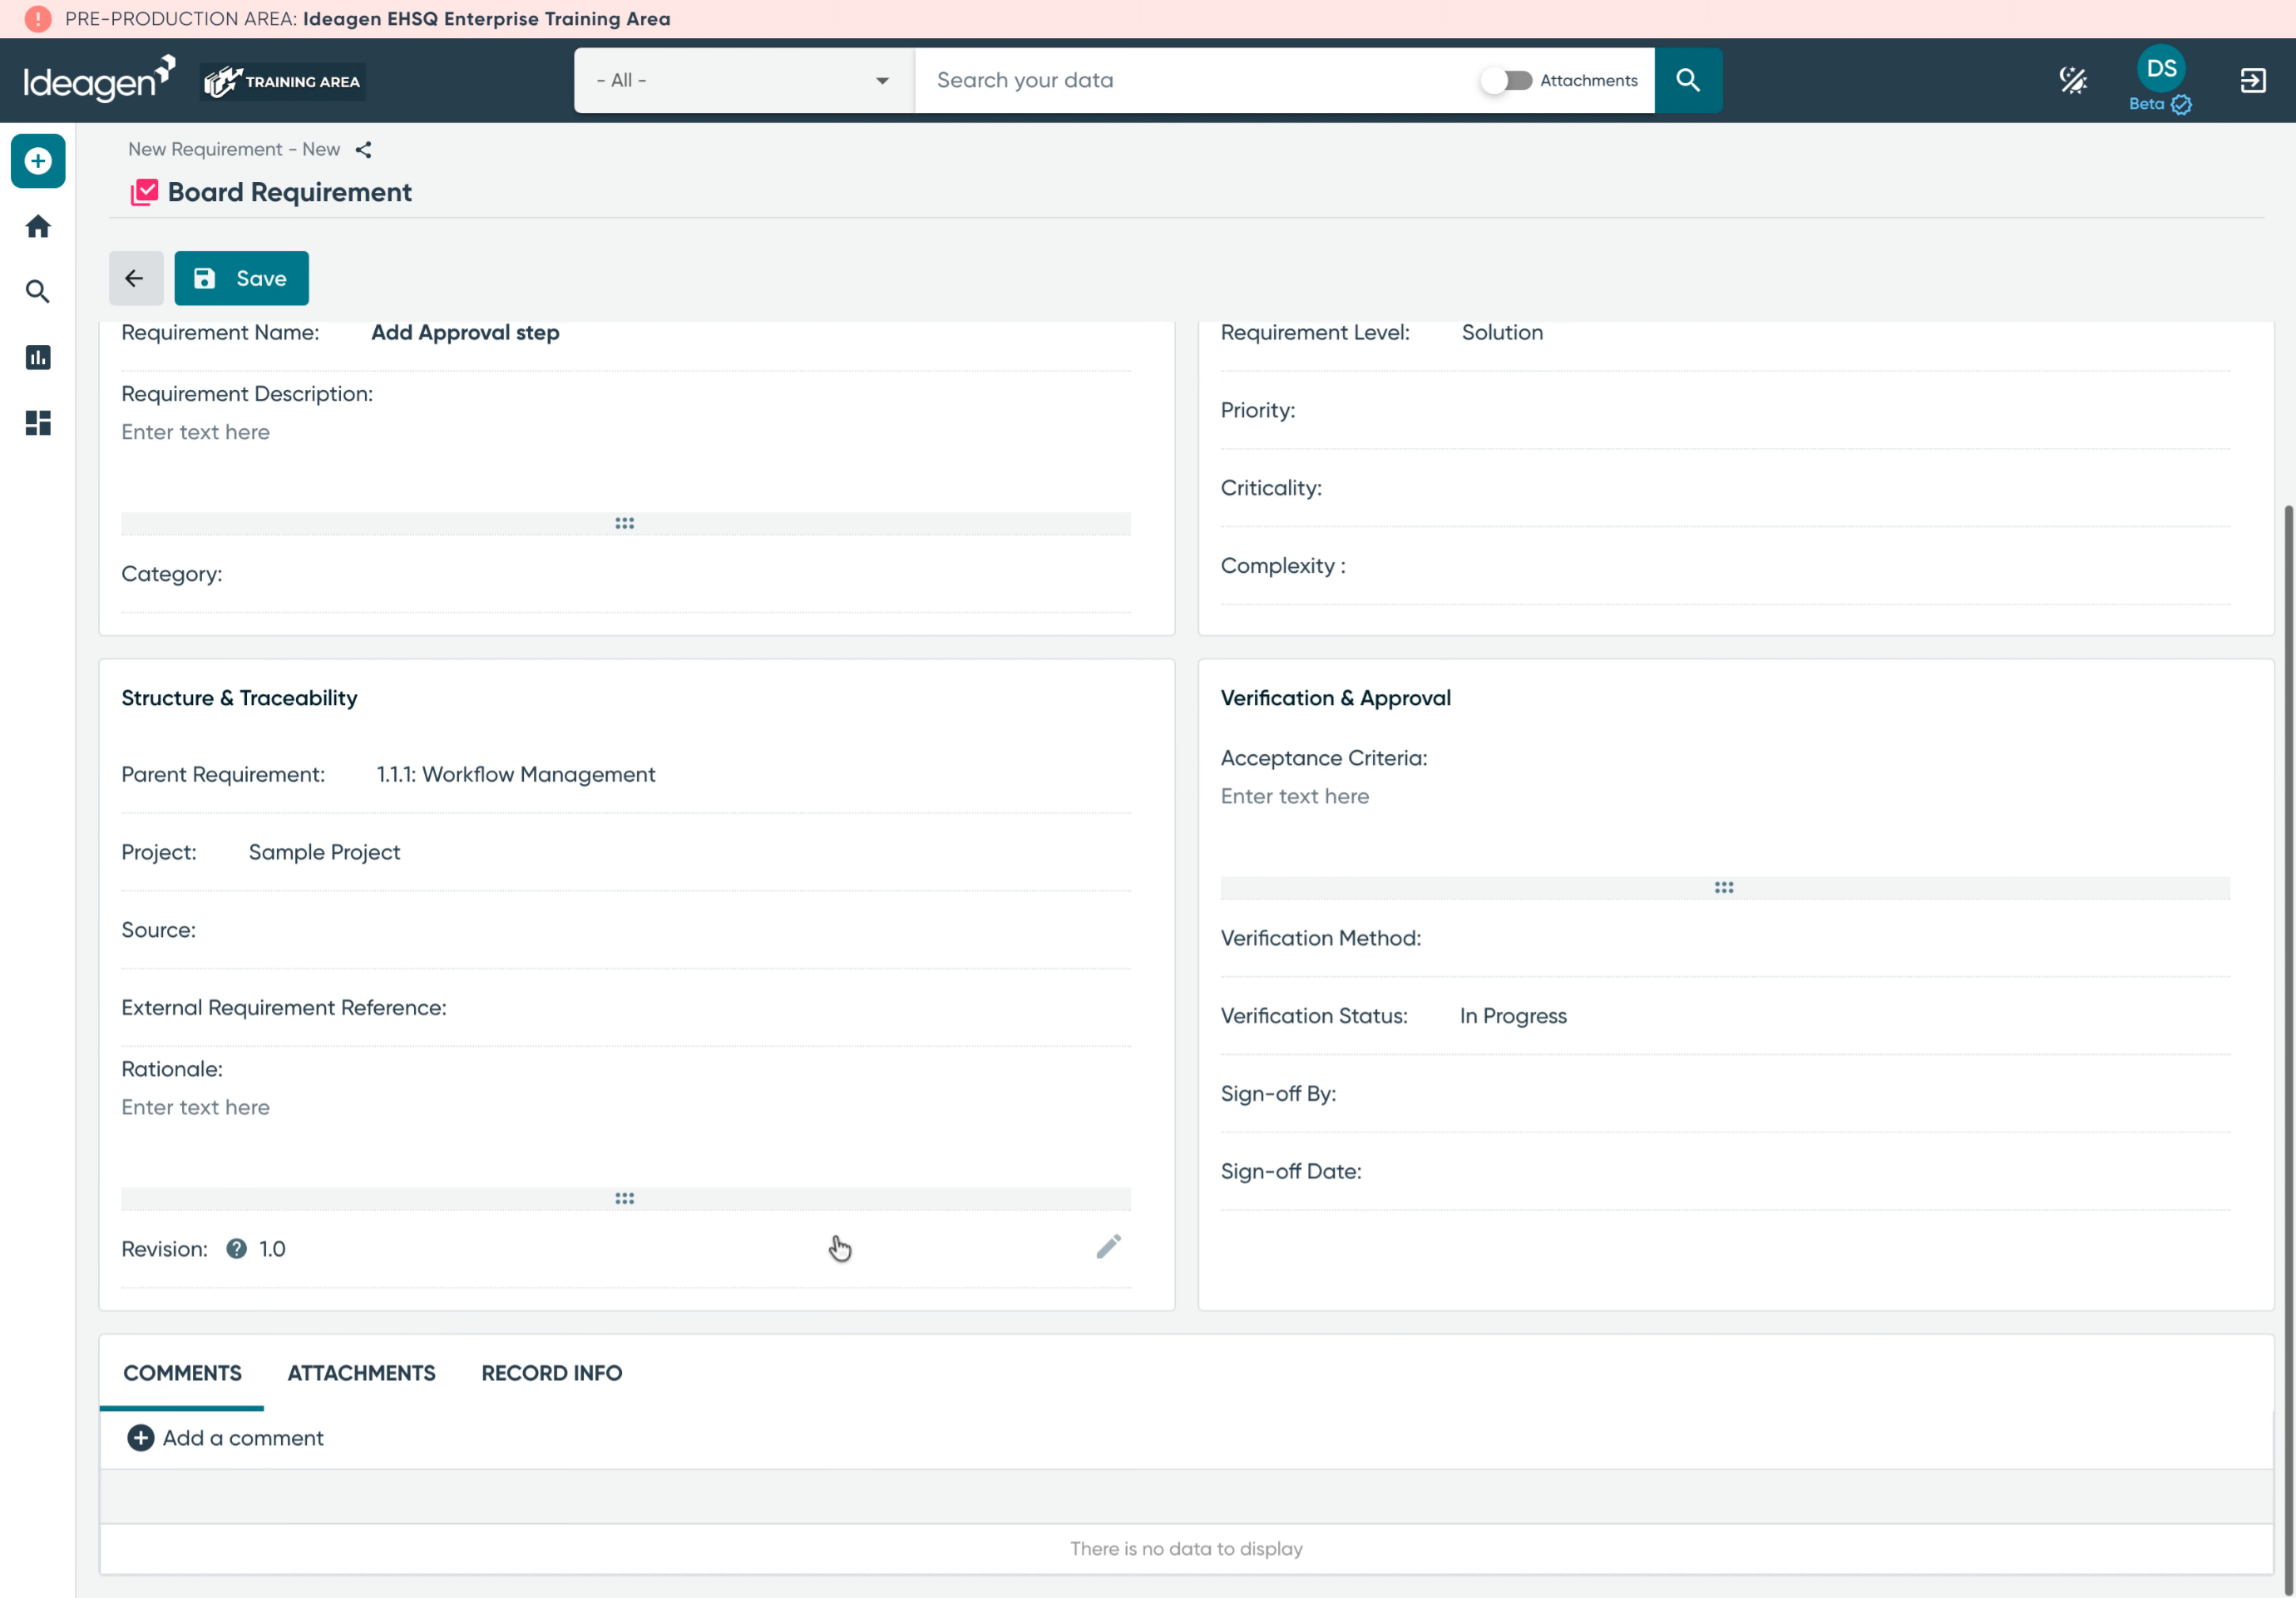
Across the bottom, there are three tabs allowing you to enter comments for the requirement, attach supporting documentation, and see the record information once the object has been saved.
13. Requirement Reporting
Once items are associated with the requirement, a new reporting section will appear on the right-hand side of the Record Info tab displaying how many items are associated with this requirement and how many of those items are closed.
The item totals count when the requirement was selected as either a Primary or Additional requirement in the Board Item.
To learn more please refer to the following help articles: